

Showing posts with label Our Home. Show all posts
Showing posts with label Our Home. Show all posts
Tuesday, December 31, 2013
2013 REVIEW AT THRIFTY PARSONAGE LIVING
It's hard to believe that 2013 is already coming to a close. With the new year right around the corner, it has us looking back at what the years has held. Below you will find a collection of events and projects that have happened at Thrifty Parsonage Living.


Tuesday, June 11, 2013
PAINTING HORIZONTAL STRIPES ON WALLS (DIY)

I love the look of stripes on walls. Stripes can be horizontal or vertical, wide or narrow, soft and subtle or bright and bold. Stripes can add something unexpected to an area making a small area appear larger, for example. Vertical stripes can make a room look taller and horizontal stripes make a room look wider. Stripes on walls has been around in the decorating world for some time, but it's a first for me. Today I thought I'd share how I painted horizontal stripes in my back entry hallway.
Wednesday, October 24, 2012
NEW BASEBOARD AND TRIM
We're moving on to adding the new trim and base board in my office. Let's take a look at what we started with. Old yellow looking wood dating back to when the house was built.

We decide to add white trim molding and baseboards.

In the above photo, you can see the trim inside the closet. We decided to go with a plain trim on the inside of the closet without the rosettes since it's not visible when you walk into the room.
 We added rosettes on the corners of the door trim. I like the charm it adds to the room but also adding these made it much easier for installation. My husband could do straight cuts and didn't have to make mitered corners.

Here's a view of the new baseboard. It's amazing how this new trim makes the room look so much newer and brighter.


We decide to add white trim molding and baseboards.

In the above photo, you can see the trim inside the closet. We decided to go with a plain trim on the inside of the closet without the rosettes since it's not visible when you walk into the room.


Here's a view of the new baseboard. It's amazing how this new trim makes the room look so much newer and brighter.
Monday, October 8, 2012
OFFICE MAKEOVER
My office closet makeover has grown. While working on this project, we've run into some snags - unexpected problems. These problems made added work of re-taping the dry wall and many layers of new primer and paint. This project has turned into more of a room makeover rather than a closet makeover. My husband and I were discussing the room this weekend and came to a decision. Since the room is getting more torn apart than planned and the wood work around the closet door and the base trim in the closet is being replaced, why not make the whole room look nice and get rid of the rest of the old trim.
Here's what the trim and baseboard look like in this room dating back to when this home was built we're guessing in the 30's or 40's.

Take note - they never even bothered to fill the nail holes.

Old trim and plywood doors.

I'd say pretty ugly and dated trim.
This is what the room looks like as of this morning.

The trim and baseboard has all been removed; and we're off to Lowe's to buy new.

This afternoon I'm hoping to get all the trim painted (we are buying the trim that is already primed). While I'm doing this, my husband will be working on installing the shelving system. I'm also hoping to start the purging of office items that will be brought back into the room. I'm getting anxious to have this room done and my house back in order. You can look forward to more posts on the progress of the room. We're getting closer to seeing the end results of a wonderful office makeover !
Here's what the trim and baseboard look like in this room dating back to when this home was built we're guessing in the 30's or 40's.

Take note - they never even bothered to fill the nail holes.

Old trim and plywood doors.
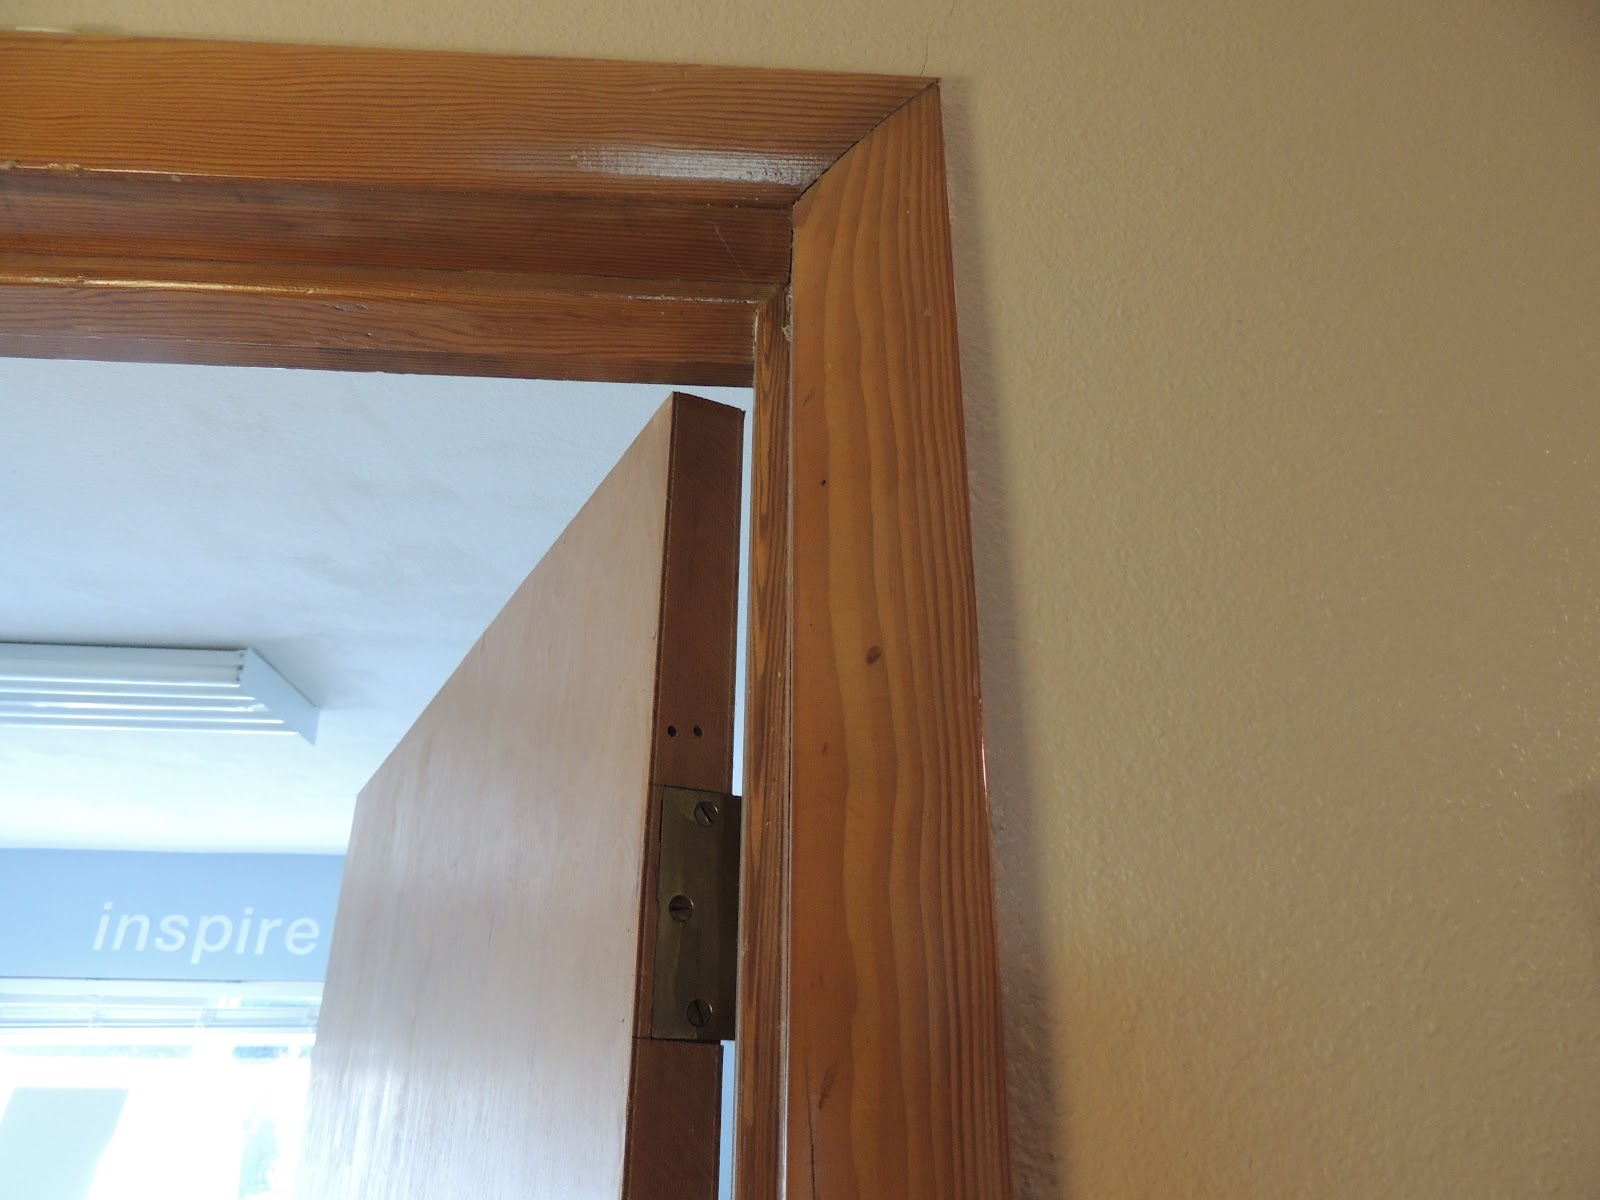
I'd say pretty ugly and dated trim.
This is what the room looks like as of this morning.

The trim and baseboard has all been removed; and we're off to Lowe's to buy new.

This afternoon I'm hoping to get all the trim painted (we are buying the trim that is already primed). While I'm doing this, my husband will be working on installing the shelving system. I'm also hoping to start the purging of office items that will be brought back into the room. I'm getting anxious to have this room done and my house back in order. You can look forward to more posts on the progress of the room. We're getting closer to seeing the end results of a wonderful office makeover !
Thursday, August 16, 2012
BATHROOM MAKEOVER & PAINTING PLASTIC WALLS
Back in April of 2010, when I first started this blog. I shared my bathroom makeover for under $500. I actually think it was done for quite a bit less, but we did the makeover shortly before I started this blog. I didn't write down the exact amounts we spent on finishing the room.

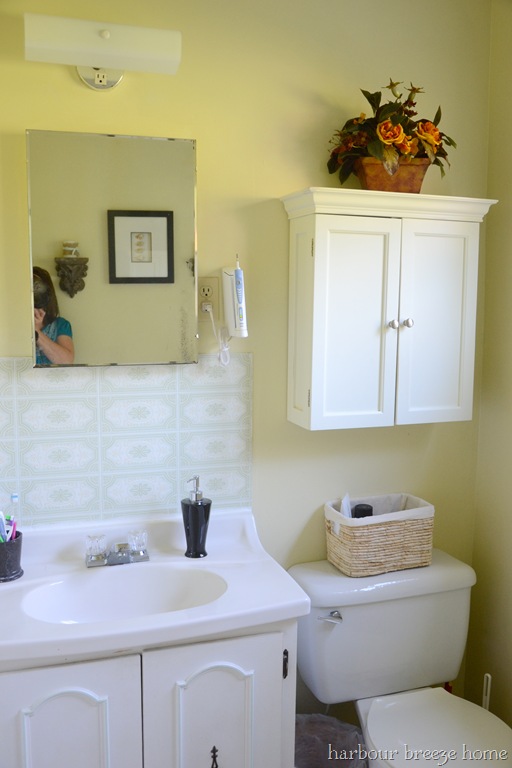
Rita from Harbour Breeze Home recently asked me a question regarding this makeover. She is planning a bathroom makeover also. As you can see in the photo below, her bathroom is same floor plan as ours. Even the retro light fixture is the same fixture we had before our makeover.

While looking back at the post I realized I hadn't shown you somethings I did in this room.

See the area directly above the shower stall. It used to be a solid wall of beige plastic with a seam about 18 inches from the ceiling. I came up with a thrifty fast solution to get rid of the wall of beige plastic.
Here's what I did ~
First I scrubbed the wall very well. I then ruffed the surface a bit using sandpaper. The next thing to do was add a coat of primer. After the primer was completely dry, I just painted it with latex paint. My husband then added crown molding that he made using salvaged lumber.
We use the shower in this bathroom and I wondered how it would hold up. It's been on the wall for four years and still looks like the day I painted it.

At the time of the remodel we also added a curved curtain rod. It's a little trick you can do to add more space to a small shower area. My thrifty finds ~ 99 cent Goodwill rings and a 50 cent garage sale shower curtain help hide the remainder of the ugly beige shower surround.


Rita from Harbour Breeze Home recently asked me a question regarding this makeover. She is planning a bathroom makeover also. As you can see in the photo below, her bathroom is same floor plan as ours. Even the retro light fixture is the same fixture we had before our makeover.
While looking back at the post I realized I hadn't shown you somethings I did in this room.

See the area directly above the shower stall. It used to be a solid wall of beige plastic with a seam about 18 inches from the ceiling. I came up with a thrifty fast solution to get rid of the wall of beige plastic.
PAINT
First I scrubbed the wall very well. I then ruffed the surface a bit using sandpaper. The next thing to do was add a coat of primer. After the primer was completely dry, I just painted it with latex paint. My husband then added crown molding that he made using salvaged lumber.
We use the shower in this bathroom and I wondered how it would hold up. It's been on the wall for four years and still looks like the day I painted it.


Have a great day!
Sunday, January 23, 2011
Bathroom Makeover Revealed - Bead Board Wallpaper
I'm finally back and able to blog after being gone. It has taken me a bit to recover from vacation, a cold and going out on pastoral calls with my husband.
You may recall back in October in this post, how I had two rooms in the makeover process. It's taken me quite some time to get these rooms finished.
This bathroom has had problems since the day we moved into the home. I'm constantly fighting mildew on the walls and ceiling. When the old ceiling fan died, the church building committee decided to put in a new bigger fan. I thought the problem would be gone, but no such luck! Since this room is so small and no windows for ventilation, it continues to get mildew on the walls and ceiling. I've been washing, priming and painting them every 6 months. Having used up the last of the beige paint. I decided to go with a darker richer wall color with an anti-mold additive in it. I hope it will work!!!
Here are a few before photos....


If you read my post back in October you'll recall my mishap with paint the paint color. I did end up having to buy a new gallon but got the color I wanted.
I love bead board , but since we live in a parsonage and don't own the home, I decided to go with something less permanent and costs efficient.... paint-able bead board wallpaper! You can purchase it at your local hardware store. I found mine at Lowe's.
Here are a few photos of the work in progress....


You may recall back in October in this post, how I had two rooms in the makeover process. It's taken me quite some time to get these rooms finished.
This bathroom has had problems since the day we moved into the home. I'm constantly fighting mildew on the walls and ceiling. When the old ceiling fan died, the church building committee decided to put in a new bigger fan. I thought the problem would be gone, but no such luck! Since this room is so small and no windows for ventilation, it continues to get mildew on the walls and ceiling. I've been washing, priming and painting them every 6 months. Having used up the last of the beige paint. I decided to go with a darker richer wall color with an anti-mold additive in it. I hope it will work!!!
Here are a few before photos....


If you read my post back in October you'll recall my mishap with paint the paint color. I did end up having to buy a new gallon but got the color I wanted.
I love bead board , but since we live in a parsonage and don't own the home, I decided to go with something less permanent and costs efficient.... paint-able bead board wallpaper! You can purchase it at your local hardware store. I found mine at Lowe's.
Here are a few photos of the work in progress....
(note old towel holder...dark and ugly).

...adding the new blue paint to the top 1/3 of the walls.

... the bead board wallpaper was added next.

... trim and thrift store Ikea mirrors were painted white.

.... my husband added the trim board between the paint and wallpaper.

...the bead board wallpaper was painted white, and the Ikea mirrors hung,
adding depth and light to the room.

... the oak wood surround the mirror was painted white,
giving it a fresh and new look.
 ... the shelf is hung with fresh "new" (use what you have) accessories and towels.
Garage sale baskets add texture and height to the shelf, along with some bath salts in a thrift store jar.
The blue vase was a keep sake from my grandmother,
while the starfish was a souvenir from one of our coastal vacations.

 ... accessories added to the counter include a .50 cent soap dispenser
and a wire basket from Goodwill to hold the toilet tissue.
The basket reminds me of these baskets from Pottery Barn.
 ...I've had these apothecary jars for years and are a great way to store bathroom items.
... they remind me a little of these Pottery Barn jars, but at a fraction of the cost. ( using what you have).
 The "new" towel bar was purchased for .49 cents at my local thrift store.
Doesn't it look much better than the old wooden one? Much cleaner and not so dark!!!
Some of you may be afraid that adding a dark color could make the room look too dark and gloomy. I have found just the opposite by adding a dark rich color along with a bright white made the room look very bright and cheery.
What do you think?
I'm linking this post to.....

Thrifty Decor Chic


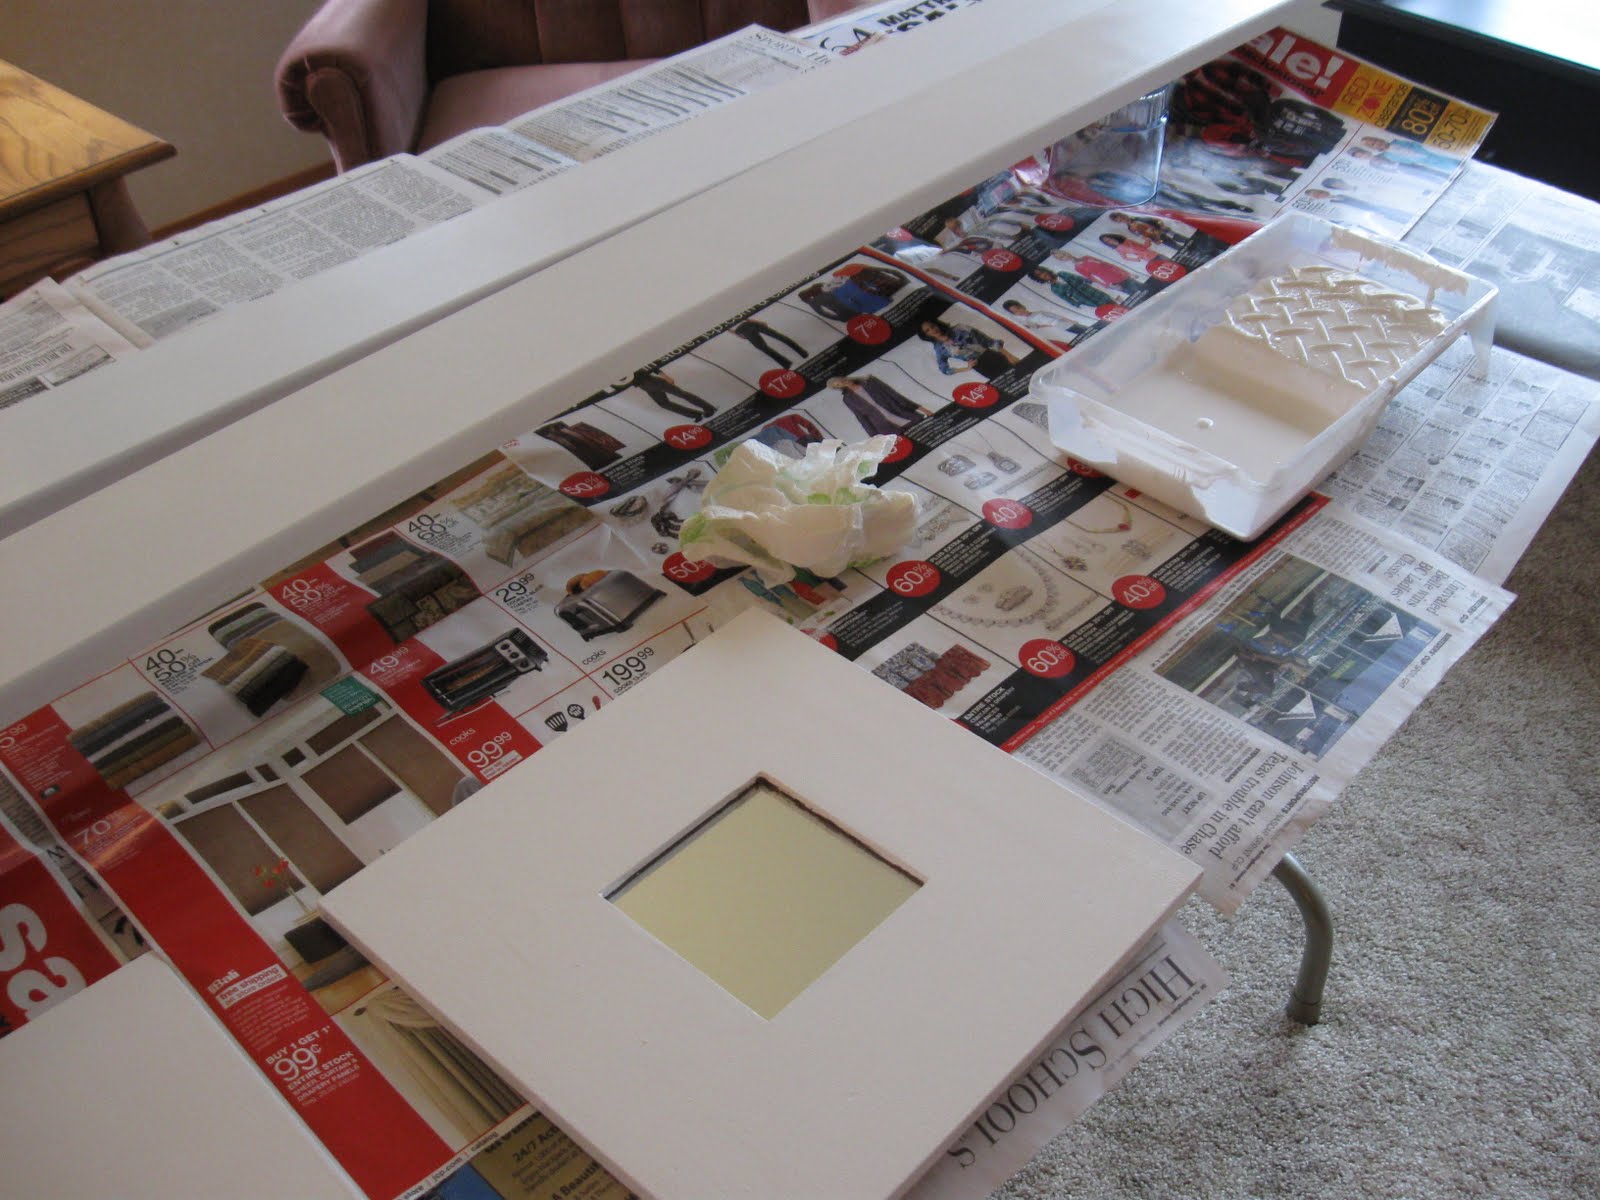
... trim and thrift store Ikea mirrors were painted white.


...the bead board wallpaper was painted white, and the Ikea mirrors hung,
adding depth and light to the room.

... the oak wood surround the mirror was painted white,
giving it a fresh and new look.
 ... the shelf is hung with fresh "new" (use what you have) accessories and towels.
Garage sale baskets add texture and height to the shelf, along with some bath salts in a thrift store jar.
The blue vase was a keep sake from my grandmother,
while the starfish was a souvenir from one of our coastal vacations.

 ... accessories added to the counter include a .50 cent soap dispenser
and a wire basket from Goodwill to hold the toilet tissue.
The basket reminds me of these baskets from Pottery Barn.
 ...I've had these apothecary jars for years and are a great way to store bathroom items.
... they remind me a little of these Pottery Barn jars, but at a fraction of the cost. ( using what you have).
 The "new" towel bar was purchased for .49 cents at my local thrift store.
Doesn't it look much better than the old wooden one? Much cleaner and not so dark!!!
Some of you may be afraid that adding a dark color could make the room look too dark and gloomy. I have found just the opposite by adding a dark rich color along with a bright white made the room look very bright and cheery.
What do you think?
I'm linking this post to.....
Thrifty Decor Chic

Thursday, October 28, 2010
Master Bedroom Makeover - Featured
I'm very excited and honored to tell you I receive an email from Cassity at Remodelaholic yesterday, stating that she is featuring my master bedroom makeover on her blog today.
If you haven't visited Remodelaholic I definitely would recommend you check it out. I'm always inspired by the great tutorials and before and afters found on her sight.
If you haven't visited Remodelaholic I definitely would recommend you check it out. I'm always inspired by the great tutorials and before and afters found on her sight.

If you'd like to see my master bedroom makeover project in its entirety, click here.
Thanks Cassity for featuring my makeover and for all of you who have stopped by for a visit to my blog.
Thanks Cassity for featuring my makeover and for all of you who have stopped by for a visit to my blog.
Thursday, October 14, 2010
Living Room Furniture
I've been looking for a new sofa for our living room.
Here's the sofa we have right now,
it's in good condition, but dated since it's over 12 years old.
Here's the sofa we have right now,
it's in good condition, but dated since it's over 12 years old.

I'm thinking of going with a neutral colored sofa.
It would be easier to change accent colors and wont date as quickly.
Here are a few of my inspirations for a sofa.

(photo ~ overstock.com)
Remember my recent trip to the Pottery Barn store...
here are a few of the sofas I saw there and liked.
(Photo ~ Pottery Barn)
(Photo ~ Pottery Barn)
I also like wing-back chairs that are white or cream .
Since the room already has two wing back chairs in it.
I think I'll be reupholstering them or making some slip covers.
We have several projects going on around our home right now.
The piece of furniture my husband is making for me.
A roof for our patio and the start of a living room make over.
I'll be keeping you posted on the progress of the projects.

(photo ~ overstock.com)
Remember my recent trip to the Pottery Barn store...
here are a few of the sofas I saw there and liked.
(Photo ~ Pottery Barn)
(Photo ~ Pottery Barn)
I also like wing-back chairs that are white or cream .
Since the room already has two wing back chairs in it.
I think I'll be reupholstering them or making some slip covers.
We have several projects going on around our home right now.
The piece of furniture my husband is making for me.
A roof for our patio and the start of a living room make over.
I'll be keeping you posted on the progress of the projects.
Monday, June 21, 2010
Master Bedroom Makeover Revealed
You've been waiting a long time for my master bedroom to be revealed. It took sometime to get the project finished, but the big delay was in getting photos. We've had dark or rainy days for what seems like forever! I've become inpatient to share the room with you, so please bear with me if the photos are a little dark, remember there is only one small window in the room.
Here are some of the before photos to remind you what we started with.
The room had been an office for my husband and wanting a bedroom that all our bedroom furniture would fit into we did a flip of rooms. You can read more about it here.
Forest green paint on bottom half of the room with a lighter green on the top half.
Here are some of the before photos to remind you what we started with.
The room had been an office for my husband and wanting a bedroom that all our bedroom furniture would fit into we did a flip of rooms. You can read more about it here.
Forest green paint on bottom half of the room with a lighter green on the top half.


The room was very dark and dreary and measures 9 1/2' x 20' making it
difficult to arrange the furniture.
I didn't like the lined up furniture before.

Here's the work in progress...
....adding board and batten.
....adding board and batten.

Painting...
...one coat of primer and two coats of
 ...Valspar Snowblow White ~ semi gloss finish
 ... Valspar Seascape (CI 187) paint ~ satin finish.
New Drop Cloth Curtains that I made were added next...
you can read about how I made them here.

 Bamboo blinds were added for some additional texture to the room.
Moving the furniture...
(We thought we couldn't put the bed on this wall because the nightstand and king size bed wouldn't fit in the narrow 9 1/2' space, but my husband came up with an idea to build new nightstands to fit the space).
(We thought we couldn't put the bed on this wall because the nightstand and king size bed wouldn't fit in the narrow 9 1/2' space, but my husband came up with an idea to build new nightstands to fit the space).
Here's the bed in its new position.
My husband and I made the headboard.
My husband and I made the headboard.


The opposite side of the room.
See my Goodwill lamp sitting on the nightstand
along with my thrifty sand dollar artwork.

Finishing touches...

Photos we've taken were hung as artwork above the bed
along with spray painted Goodwill reading lamps.

 A photo of my husband and myself at the beach
(a new 8 x 10 will replace the 5 x 7 after our vacation at the beach this summer)
framed by a large thrift store frame.
The shelf I already had and I added a candle and sign purchased @ TJ Maxx.
I made the hanging ornaments from shells and starfish, along with my Knockoff Pottery Barn mason jar candle.

This sign purchased at TJ Maxx was added on the opposite wall .

Candle light was added to the dresser using blue mason jars.

 The Ikea mirrors I made over and ...
 ...Jewelry hanger I did a makeover.
 A vintage step ladder for a side table.
My husband is going to make side tables,
but I've had so many of you telling me to keep the ladder so for now it's staying.
 My vintage alarm clock purchased at a garage sale.

I added a new quilt at the end of the bed that I found @ Goodwill for $14.98 (don't worry I did wash it) and new tan pillows I sewed. The blue pillow was purchased @ TJMaxx along with new white pillow covers.
15 years ago my husband lovingly hand made all the furniture in this room with the exception of the headboard.
We made the headboard together 3 years ago when we upgraded from a queen bed to a king. I'll tell you how we made it in a future post.
This basket is used for our laundry and a framed photo I took of flip flops will sit on a nightstand.
 We're loving our new made over room.
What do you think of the room?
Joy
I'm linking this post to...
I'm linking this post to...
Todays Creative Blog Get Your Craft on Tuesday
A Silly Little Sparrow Toot Your Own Horn
Bobbypinsboardwalk ~The Boardwalk Bragfest
Organize and Decorate Everything ~ We're Organized Wednesday
Bargain Shopping Paradise ~ Bargain Brag Wednesday
Someday Craft ~ Whatever goes Wednesday
The Shabby Chic Cottage ~ Transformation Thursday
Fingerprints on the Fridge ~Feature Yourself Friday
Just a girl ~ Show and Share day
The Shabby Nest ~ Frugal Friday




Subscribe to:
Posts (Atom)
LinkWithin
