Showing posts with label Sewing. Show all posts

Wednesday, March 26, 2014

HOW TO MAKE LINED CURTAINS {DIY}

I'm finally back after a little bit of recovery time following my oral surgery. In a previous post I share our guest room makeover. I promised to share the  tutorial on how I made the curtains for this room.


Let's start out by talking about the fabric I used for these curtains.  

Monday, January 6, 2014

SNOWFLAKE PILLOWS (tutorial)

We awoke to record cold temperatures today in Minnesota. It was -17 degrees on the thermometer, with wind chills of minus 40 to minus 55 degree Fahrenheit.  Now I'd say that is COLD!  It's a great day to stay inside where it's warm and cozy, and share a winter craft.

You may remember seeing my snowflake pillow in my Christmas Home Tour.  I've had several people ask about them.  Today I'll give you a tutorial on how I made them.


I was inspired to make snowflake pillows when I saw the cute pillows Anna at Noodlehead made.  She gives a free template for the snowflake.

Wednesday, November 27, 2013

WREATH PILLOW

Guess what I found today while browsing the internet.  Another pillow that looks like mine.  You can find it at Joss and Main.  It's normally priced at $57.50 on sale for $28.95,  but you can still make your own for less by following my instructions.


To get full instructions on making your own

Friday, November 15, 2013

POTTERY BARN WREATH PILLOW KNOCKOFF

It's been almost two years ago since I first saw a beautiful wreath pillow at Pottery Barn.   The beautiful tone on tone pillow is still on my mind almost two years later.

You can imagine my disappoint to find out that it's no longer available, but then I thought to myself: "I can make that"!   We woke up to snow last week and four degree temperatures this week; and because of the cold outside, I started to think about Christmas and winter projects.  It was the perfect time for me to try making a pillow.  While browsing  on Pinterest, I saw a few knockoffs for this pillow, one of them from The Decorated House.

Here's what I did to create my own version of the pillow.


I gathered supplies that I had around the house.

Tuesday, October 15, 2013

DIY CHAIR SLIPCOVER

Last week I got an email from my sister telling me about some fabric she'd found at Hancock Fabric.  She has been wanting to make a slip cover for one of her chairs.  Being a thrifty shopper like me, she went to check the fabric on the clearance table, and found a piece of upholstery fabric.  The fabric was the color she was looking for, and there were 3 yards.  To top it off, the clearance price was $5 per yard.  And then, when she went to check out, she was greeted with yet another surprise.  The clerk told her she could use her 50 % off coupon on clearance items making the fabric only $2.50 a yard.  What a great deal!

Since she has never made a slipcover for a chair, she asked for my help; and I agreed.  What a fun way to spend the day with your sister!  I'll take any opportunity I can to get together with both my sisters after living 1700 miles away from them for 16 years.  Both of us have reupholstered a sofa; and I've done a few chairs as well. (You can see how I reupholstered my wing-back chair here.)  We've also have both made slipcovers for pillows, but neither of us have made a slipcover for a chair.  It was a learning experience for the both of us, so today I thought I'd share with you how we made the slip cover.


Here's the chair we started with.

Wednesday, October 10, 2012

POCKET PILLOWS FOR FALL

My house has been in disarray because of the office makeover. Because of this, I've only put out a few of my fall decorations in the dinning room.  I'm anxious to put more of them out in the living room and family room.  

While shopping at Jo Ann's recently, I came across some lovely fabric.   The only problem was that it came with the price tag of $39.99 a yard.  Sometimes I splurge a little, but it still has to fit in our budget.  This fabric would make very pretty drapes but that isn't in our budget.  Instead of a large expensive project, I decided to indulge and bought a small amount of this fabric using a 50 % off coupon. The coupon made the price of the fabric more affordable for this thrifty girl, making the total cost seven dollars.

I love the blue in the fabric and the browns and tans making it perfect for a fall.   I took a little break from my office project, and whipped up a set of pocket pillows.  If you'd like to make a  pocket pillow yourself, you can see the tutorial in my post Simple Pillows Anyone Can Make.  ( If you don't sew you could make these pillows using iron on fabric tape.)

Pocket pillows fit into a limited budget because you can just slip them over a pillow you already have in your home.   That's exactly what I did slipping the covers over some pillows I had from spring and summer.  Now my living room will have fall accents for a fraction of the cost of buying store bought pillows.  If you've priced pillows at department stores, you'd know these pillows would cost you anywhere from $14 to $30 each whereas my pillows only cost seven dollars for both pillows.


I love the fact that they're not your traditional brown, orange and red colors for fall, but the colors I have and love in my home.  That is also a big plus if you make your own.  You can pick what ever fabric you'd like.

Friday, September 21, 2012

DIY BURLAP TABLE RUNNER

I enjoy shopping and seeing all the lovely fall displays this time of year.  While on one of these shopping trips this past week, I saw some lovely table displays.  They were so festive with all the fall decor .  In one particular shop they had a burlap table runner down the center of the table, along with fall colored napkins and center pieces.  When I went to check the price on the runner, I was in shock!  It had a price tag of $59!  That got me to thinking of a remnant piece of burlap in my fabric box at home.  It was at that moment I decided I'd make my own.

Here's what I did -

1.  Found my burlap fabric remnant, that I'd picked up on clearance for .59 cents.
2.  Cut the fabric to the size I wanted.  To ensure it would be straight on the grain, I pulled a string out and then used that as my cutting guide.
3.  I then sewed 3/4 inch from the edge of the entire piece of the fabric.  This is to keep the fabric from fraying too far.


4.  After sewing completely around the edge of the fabric, begin by pulling the outer thread off and keep working inward until you get to the sewed line.  You may need to use a needle to pull the thread away from the burlap.


5. After pulling all the threads loose around the entire burlap, it was ready to iron flat.  That was it, my burlap table runner was  finished!  This is an easy project even if you're a beginner to sewing.


This burlap runner took less than 20 minutes to make.


 I love how the burlap adds texture to the table arrangement.
It was definitely worth my time and a great money saving project!

After I finished sewing my runner, I saw a comparable table runner at Pottery Barn . I think mine is a little shorter and not quite as wide, but quite comparable.  What do you think?


I'm linking this post to -
DIY Club October Monthly Project

The Lettered Cottage

Monday, September 17, 2012

DIY CAMERA BAG PURSE

While shopping for my new camera, I started to see some fantastic girly camera bags.  I really liked a pewter bag at Jototes, but it comes with a price tag of $89 plus shipping. Sadly it's a little out of my price range and budget.

This got me to thinking - "could I make one myself ?"  I looked around pinterest and found that Vanilla and Lace had the same idea as me, and posted a DIY on making one.  Also, a new follower to this blog  made a camera bag/purse.  Her name is Brie from Breezy Pink Daisies.  I found out we like a lot of the same things.  I already had my diy bag in the makings and guess what I saw on her blog?  A purse made over in almost the exact same fabric. I guess great minds think alike....Ha..Ha!  Moving on to the bag -

Here's what I came up with for my DIY Camera Bag / Purse.

I began by looking for some girly fabric and bought 1/2 yard of it. I ended up using less than half of it.


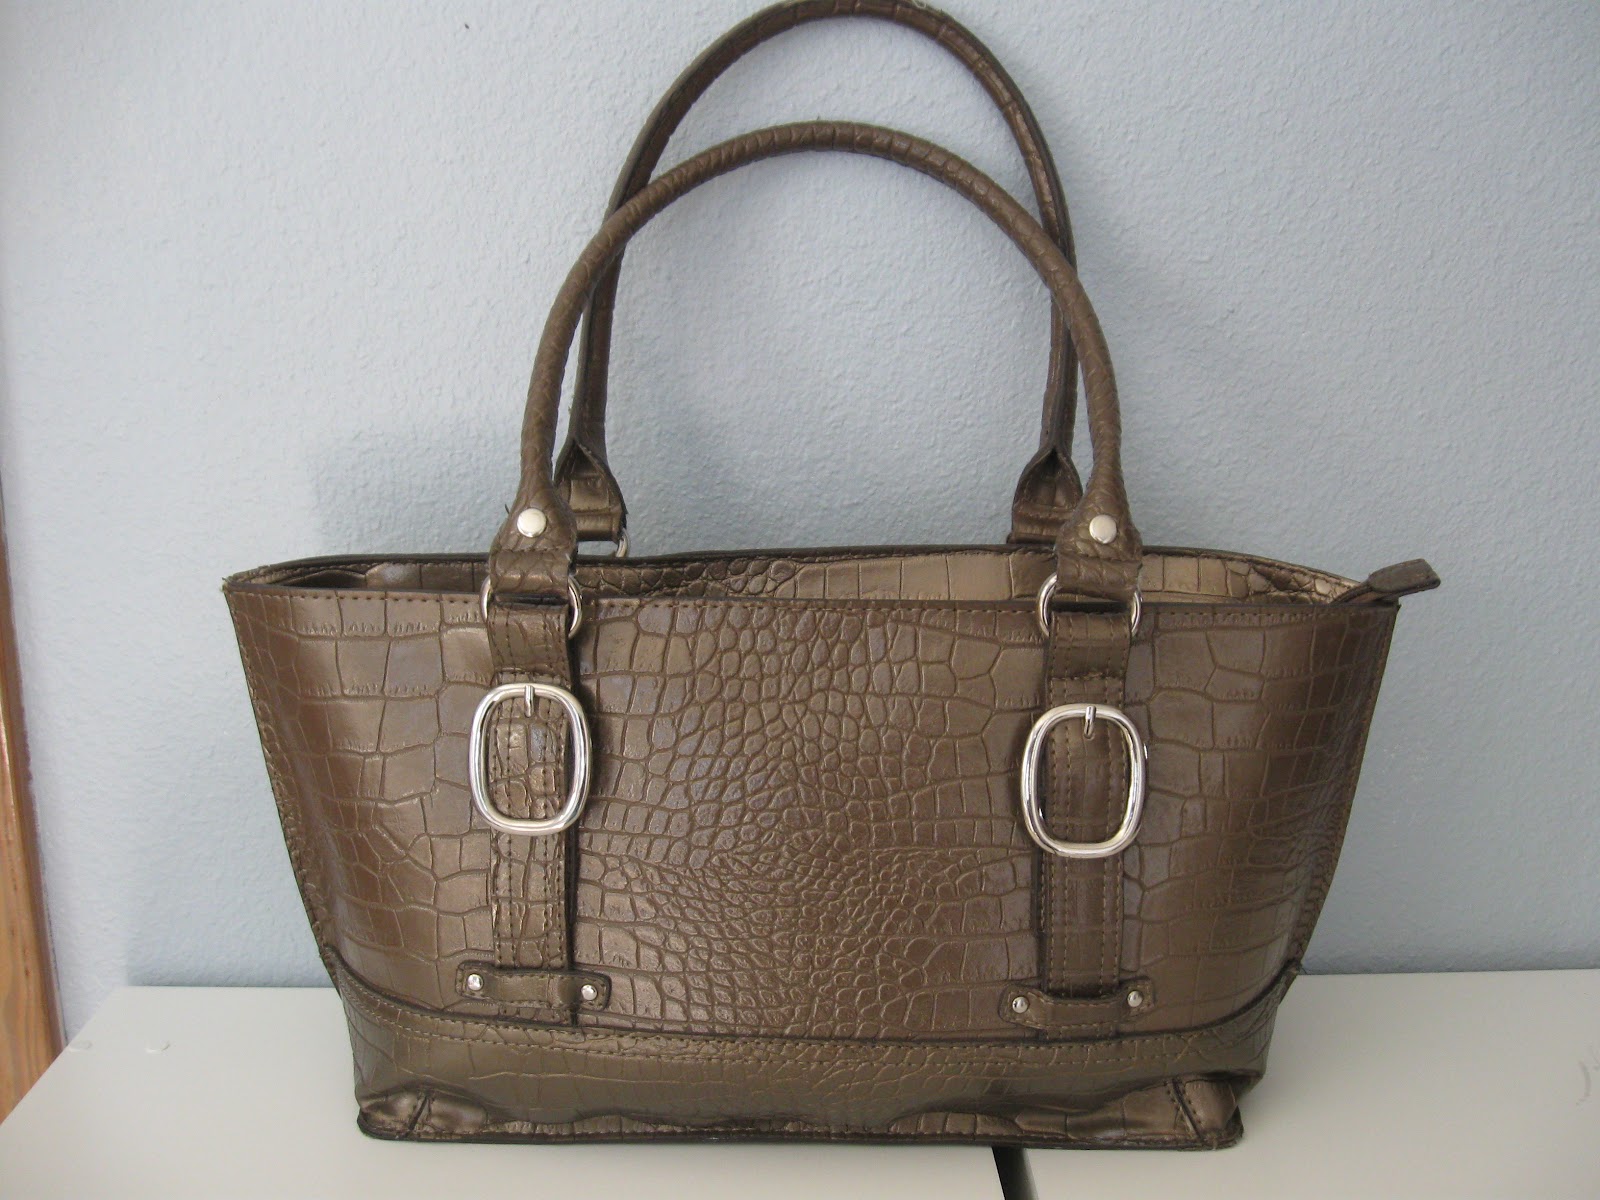
Now I needed a cute purse, so off to Ross I went and found this cute bag for  $23.


I was sad to find out that this purse was too floppy and would "cave in" too much so I returned the purse.  On to plan B, I had a $1 garage sale purse sitting on my closet self...not as cute as the first purse but the bottom is more stable.  It also has a zippered top which will help protect my camera from the elements.


I then began to shop my house for the other supplies I needed.
The first thing was some left over foam from a previous project.  I began measuring the inside of the purse ~ bottom, height and width.  After getting the measurement, I moved on to cutting strips of foam to match the measurements.


The next step was to cut pieces of fabric 1/2 inch wider (for seam allowance) than the strips of foam. Sewing them together to look like a small pillowcase.


To add a little more stability and firmness to bottom of the purse, I cut a piece of cardboard the same size as the foam.  I sprayed the cardboard with spray glue and added the foam on top of it.  I then slipped into the "pillow case" of fabric.  To finish the open side seam I simply hand stitched it shut.  On the two long side pieces I sewed a strip of Velcro.


   I also applied Velcro to the sides of the smaller partitions.

These will make the adjustable sides and partitions between camera parts.


The purse already had two built in pockets that work perfect for sd card storage.  It also has a zippered pocket where I can store lens cloth and miscellaneous small items  including the small tripod I got on a garage sale for .25 cents.

Here's how it looks with all the camera supplies.


The entire project only cost me $3 including the price of the purse.
 I'd say that makes for a pretty budget friendly and thrifty bag!

Thursday, May 31, 2012

HANDMADE GIFTS {part 4}

Today's handmade gift is one I made recently  for the bridal shower of our nephews future wife.  I used fabric I already had on hand, some of which was left over from the dress I made for a baby shower. 
The pattern I created myself.


For a little extra I added two layers of ruffles and
a rhinestone buckle for some added bling.


Here's the pretty bride to be modeling the apron.


Monday, May 28, 2012

HANDMADE GIFTS {part 3}

Happy Memorial Day!

I thought today's gift would be a fitting gift to share since it's in patriotic colors. May we all remember the men and women who serve out country and make it a safe place for us to live.
Handmade gifts are fun to make and sometimes involves being creative.  A few years back our Christian school asked me to be on a committee to help grades k - 3 to make a gift for one of the parents.  Myself along with one other woman had to be a bit creative to come up with a project that would involve all the children.  We decided to make a quilt using pictures that each child in the class had colored.  Iron on transfer paper was used to make the picture into quilt blocks.

I did the sewing on the quilt because the other mother didn't know how to sew.


Because children are so precious, we chose Precious Moments pictures.


The parents loved the quilt because it's a quilt full of memories of each child who contributed to the quilt.

Thursday, May 24, 2012

HANDMADE GIFTS {part 2}

Today's gift is also a gift I made for a baby shower.  This time it was for a little girl that was adopted and because of all the paper work and wait time, the shower was not held until she was 2 years old.  The little girl is a real girly girl, so of course it had to be pink.


The dress was very simple, but I thought cute!

Monday, May 21, 2012

HANDMADE GIFTS

I enjoy sewing and often make gifts for special occasions. I thought over the next few days it would be
 fun to share a few of my projects. 
Today's theme is 

Baby


I made this for a new baby at our church a few years ago.  The baby's father is a Marine Engineer and works on cruise ships.  I thought it would be fun to make something with ships/boats for the gift.  I created the pattern and design my self. I used star fabric for the sky and a print fabric for the water.  I then made a sailboat, using photo transfer paper adding a photo of the baby to the sail.  I even made a boat anchor using a button and string.


Because I'm talking about babies and baby gifts, I couldn't resist adding a photo of our cute granddaughters.


Wednesday, May 25, 2011

Reupholstered Wingback Chair Revealed

I've been working for sometime along with my dear husband reupholstering our wing back living room chairs.

Here is what we started with ~ 
 two very dated 
Pink Velvet Chairs.

First thing I did, after picking out my fabric, was to remove the old fabric.
You can read about it here.

This is how the chair looked after the fabric was removed.
While removing the fabric, I took many photos to help me remember how to put it back together.  I also wrote on the back of the old fabric...labeling each piece for reassembling.
They were then placed on the fabric to act as patterns.


 Since I'm very thrifty and have a limited budget
to work with,
I recycled the zipper and all the piping.


I sewed new piping...


...and created my own knife pleat for the skirt.
Read how I sewed the knife pleat  here.


Then the reassembling process could begin.  Batting was added to the tops of the arms, and the fabric
stapled in place.


My husband helped me with all the stapling of the fabric.


After we had the fabric stapled into place, I realized 
we had a problem!

When I decided to add the knife pleat skirt....

all the ones I'd looked at were slipcovers and not upholstered.


Oh...Oh!!!!
How to attach it???
After researching a little I found a blog tutorial by
Centsational Girl on double welted cord.
 So I whipped some up only to find that my staples
still showed in the middle of the welting. 
The question remained ...
what to do now?


I finally came up with the solution: First, I sewed a one and a half inch strip of cloth on the top of the box pleat right sides together.  Next, I folded the strip of fabric over, and top stitched it approximately 1/2" from the fold.  Then I folded and ironed the top of the fabric strip (1" now folded over and down the backside).  Piping was then stitched into place (see picture below).  This left approximately 1/2 inch strip of cloth just below piping on back for staples.


Whala.... the staples are hidden!


We found the duck fabric hard to work with as an upholstery fabric. The cloth has virtually no stretch making it difficult to work with, so the chair isn't with out mistakes.  I love the finished look, however, making it worth the effort.  A vast improvement over the pink velvet!


I've added a few accents to the chair - an afghan that I purchased from Goodwill for $ 2.99, 
and two pillows that I made.
  You can read the tutorials for the nest pillow  here and the pocket pillow here.


So what do you think?
I'd say not to bad for a $35 transformation!


One chair done and one more to go!


I'm linking this post to....
{Primp}

LinkWithin

Related Posts with Thumbnails