
I present to you my new office closet.

I really had planned to go to IKEA to buy storage boxes and containers for this space, but we ended up not taking our daughter to the airport in October. I couldn't justify a four hour round trip just to get them. I've instead reused many items I already had in my home.
The baskets I bought a year or so ago at a garage sale for five dollars. I did a little DIY project and made the chalk board labels for the baskets. (I'll share how I made these in another post). The black boxes were bought several years ago at Micheal's for $1.50 each. My husband gave me a Jetmax modular storage system a few years ago as a gift. I had two of these unites side by side on the wall as you come into the office. I moved them to the closet and added a board - making it into a desk. I'm going to love having more work surface. I also added my newly reupholstered chair.

If you recall back when we made over our master bedroom, I told you the room had been my husband's office. My husband lovingly gave up his large office for a very small dinky 10 X 10 space. He had to move two of his book shelves to a storage unite outside our home, and moved his tall oak file cabinet to my office. You can see it on the left in this photo.

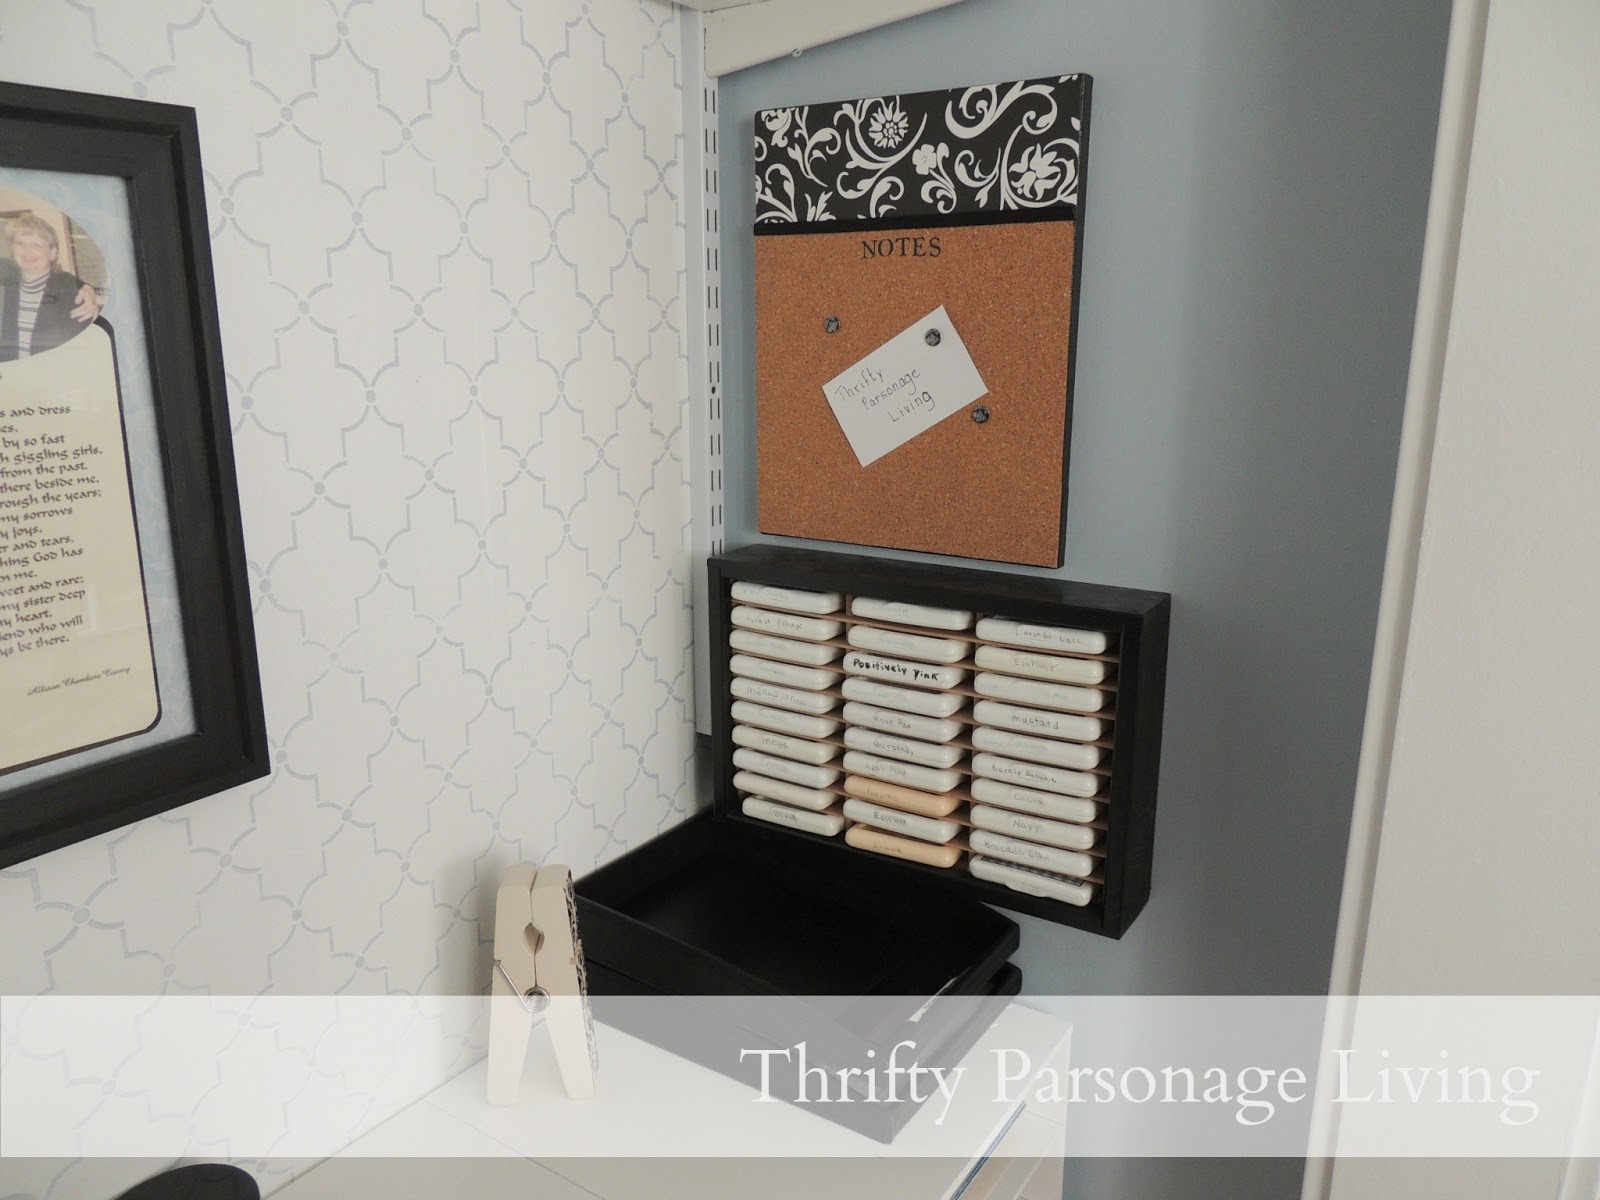
I hung my memo board and stamp pad holder on the side wall making them very easy to access while working on a project. If you've missed the posts on how I made the stamp-pad holder and note board, you can see the tutorial here and here.
Every office needs proper lighting, so I did a lamp makeover and added it to the space. You can see it hanging on the wall in the photo below.

On the desk top, I added file bins for in and out mail along with a few small bins perfect for paper clips, staples and other small items. I've also had the bins for a while, but they were originally purchased from Micheal's dollar bin. The close-pin clip is something new I purchased for the space at Micheal's on clearance for .50 cents.

Every space needs some artwork so I add photos of my husband and myself as children.
Isn't he cute!

On the wall above the desk, I place artwork that I made. Entitled Sisters, it contains photos of my two sisters and myself as children and one of all three of us as adults. Even though we live 1700 miles apart, I can be remind of them while I work at my desk.


It's wonderful to have more storage shelves and the one up high that I can actually access! I've placed all my magazines on the top shelf most of which were bought on garage sales .10 - .50 each. I still need to organize them according to the type of magazine. Before the room makeover, all these magazines were in baskets and bins scattered throughout the room . It will be nice to have them all in one space.

I finally found a place to hang my chandelier on the opposite side of the room.


And finally, I get to make good use of a desk purchased several years ago! I used to work on my computer in our family room on a roll top desk, but now I have my computer, scanner and silhouette machine set up in my new office. We've decided to down size and make more room in our family room, so we'll be selling the old roll top desk. I'm really enjoying having all my things in one room. I now can sew, blog, scrapbook and do craft projects all in one room. It's great having everything organized and having the two work surfaces in one room.

Here's a look at a few before photos


and the after

I'm also glad I went with a white stenciled wall rather than having everything in the blue.

I love the new white trim and baseboard, it makes everything so bright and cheery! What do you think of my newly made over room?
I'll be sharing more of the details on the storage/ organization solutions for this room soon.

Beneath My Heart Best DIY Projects of November Party
Inspiration Friday @ the Picket Fence
Flaunt it Friday @ chic on a Shoestring Decorating
Thrifty Decor Chick: November Before and After Party


Joy~ I've been following your blog for a while now, but have never commented. This is a beautiful room - you've done a great job and on a strict budget too. You're an inspiration!
ReplyDeleteKatie
Oh, Joy, this is BEAUTIFUL!! I read and scrolled through very slowly, soaking in all the details. You've incorporated so many crafty ideas, and the space just seems so fresh, relaxing, and inspiring. It must be so much fun to work in there!
ReplyDeleteWhat a beautiful place to work! You two did a wonderful job!!!
ReplyDeletelooks fab! I love how organized and clean it looks.
ReplyDeleteBeautiful space to get creative, Joy! Great work! I'm including a link back in my party highlights. Thanks so much for sharing! :)
ReplyDeleteYour office looks wonderful! I love the wallpaper you chose. The design is subtle, simple, and very elegant. It was also a good idea to push the main working space into the corner, because that provides you with a lot more space in the rest of the room.
ReplyDelete- Sunni Mahr
My friend mentioned to me your blog, so I thought I’d read it for myself. Very interesting insights, will be back for more! Janitorial Services
ReplyDelete