Monday, October 15, 2012

DECIDING THE RIGHT WALL COLOR FOR THE OFFICE CLOSET

I've been doing painting and more painting in my office. Three coats of primer, and two coats of paint on the water damaged ceiling  makes it look so much brighter, fresh and clean.


 Moving on to which paint to use for the wall color, I did a little sample test using  two paint samples I already had on hand.


I thought about repainting not only the closet but the whole room a lovely gray color.  Here are the samples I was considering.


In the end, I decided to stick to my original plan to use the paint left over when I painted the room two years ago. Two things that influence my decision - the cost of buying more paint at $35 a gallon, and not wanting to get the wrong gray resulting in cement basement looking walls.  I want the room to be bright and cheery.

In my next post, I'm hoping to show you the walls painted.  This room is getting closer to the finish line - hurray !


Wednesday, October 10, 2012

POCKET PILLOWS FOR FALL

My house has been in disarray because of the office makeover. Because of this, I've only put out a few of my fall decorations in the dinning room.  I'm anxious to put more of them out in the living room and family room.  

While shopping at Jo Ann's recently, I came across some lovely fabric.   The only problem was that it came with the price tag of $39.99 a yard.  Sometimes I splurge a little, but it still has to fit in our budget.  This fabric would make very pretty drapes but that isn't in our budget.  Instead of a large expensive project, I decided to indulge and bought a small amount of this fabric using a 50 % off coupon. The coupon made the price of the fabric more affordable for this thrifty girl, making the total cost seven dollars.

I love the blue in the fabric and the browns and tans making it perfect for a fall.   I took a little break from my office project, and whipped up a set of pocket pillows.  If you'd like to make a  pocket pillow yourself, you can see the tutorial in my post Simple Pillows Anyone Can Make.  ( If you don't sew you could make these pillows using iron on fabric tape.)

Pocket pillows fit into a limited budget because you can just slip them over a pillow you already have in your home.   That's exactly what I did slipping the covers over some pillows I had from spring and summer.  Now my living room will have fall accents for a fraction of the cost of buying store bought pillows.  If you've priced pillows at department stores, you'd know these pillows would cost you anywhere from $14 to $30 each whereas my pillows only cost seven dollars for both pillows.


I love the fact that they're not your traditional brown, orange and red colors for fall, but the colors I have and love in my home.  That is also a big plus if you make your own.  You can pick what ever fabric you'd like.

Monday, October 8, 2012

OFFICE MAKEOVER

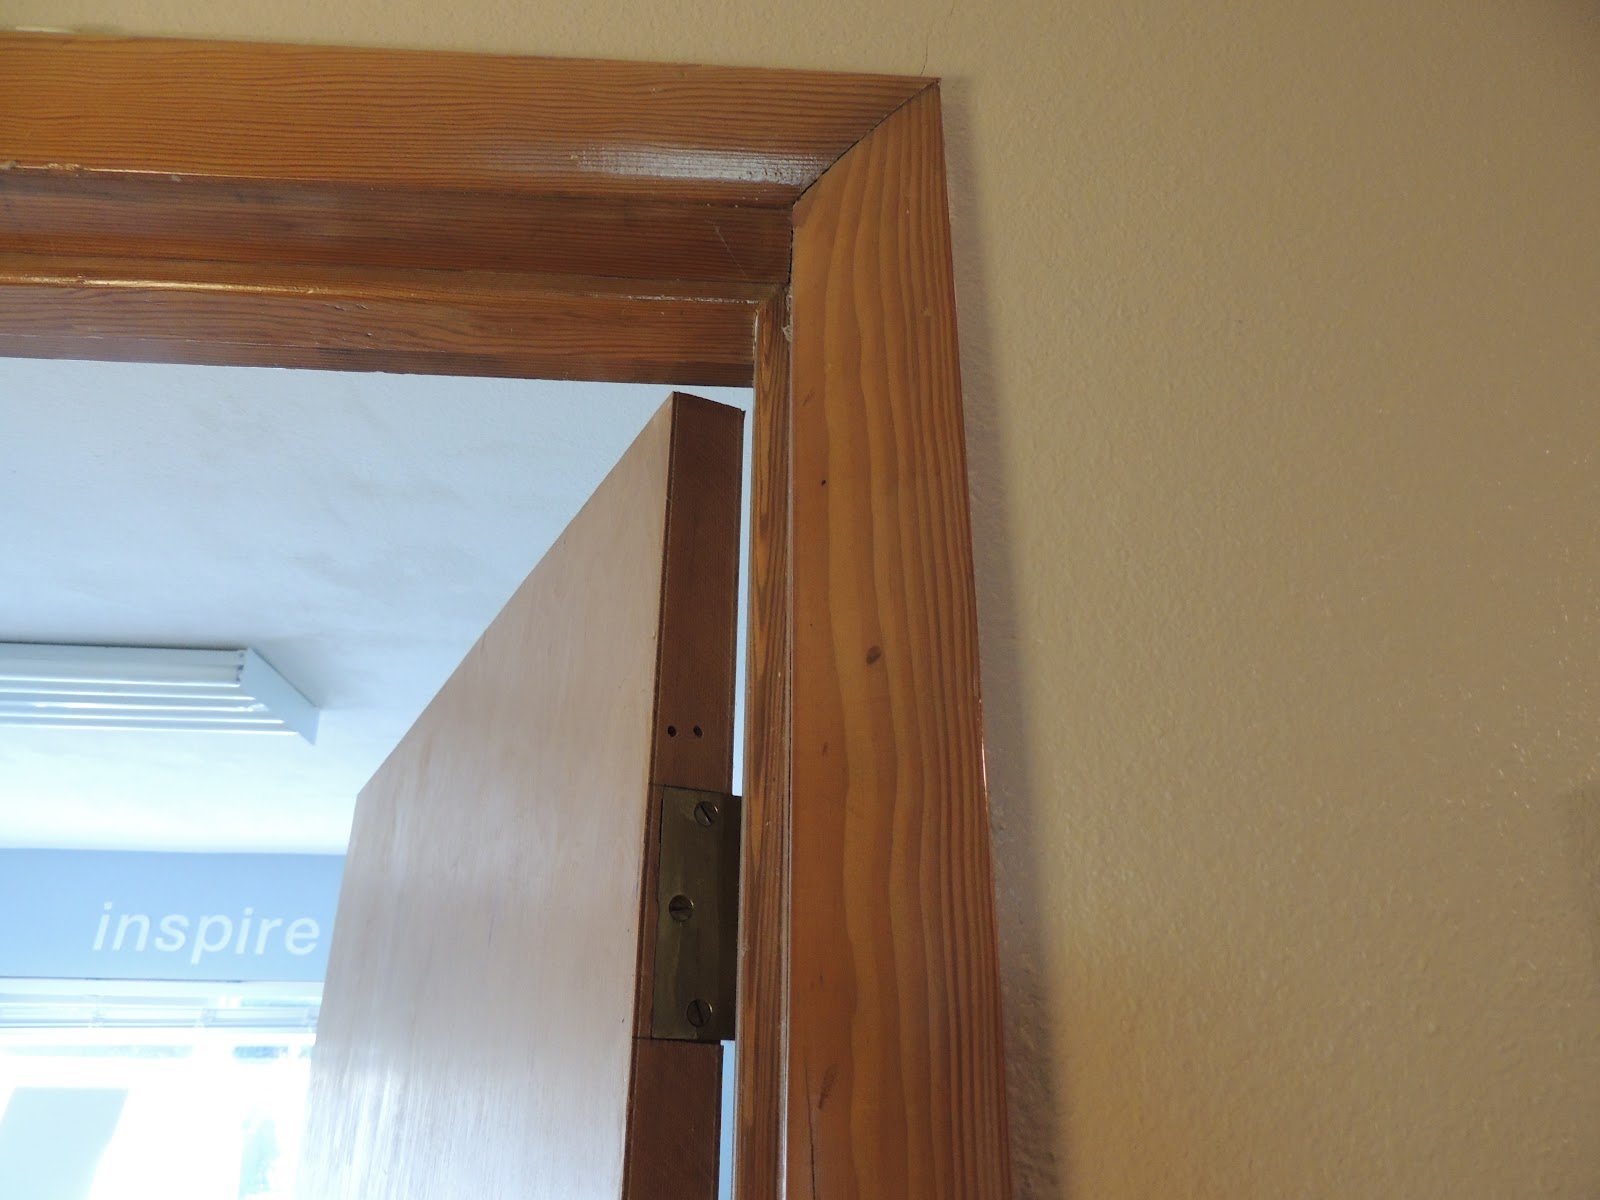
My office closet makeover has grown.  While working on this project, we've run into some snags - unexpected problems.  These problems made added work of re-taping the dry wall and many layers of new primer and paint.  This project has turned into more of a room makeover rather than a closet makeover.   My husband and I were discussing the room this weekend and came to a decision.  Since the room is getting more torn apart than planned and the wood work around the closet door and the base trim in the closet is being replaced, why not make the whole room look nice and get rid of the rest of the old trim. 

 Here's what the trim and baseboard look like in this room dating back to when this home was built we're guessing in the 30's or 40's.


Take note - they never even bothered to fill the nail holes.


 Old trim and plywood doors.


I'd say pretty ugly and dated trim.

This is what the room looks like as of this morning.


The trim and baseboard has all been removed; and we're off to Lowe's to buy new.


This afternoon I'm hoping to get all the trim painted (we are buying the trim that is already primed).  While I'm doing this, my husband will be working on installing the shelving system.    I'm also hoping to start the purging of office items that will be brought back into the room.  I'm getting anxious to have this room done and my house back in order.  You can look forward to more posts on the progress of the room.  We're getting closer to seeing the end results of a wonderful office makeover !
 

Friday, October 5, 2012

OFFICE MAKEOVER PROGRESS

It's been another busy week here at the Parsonage.  Do you ever start a project that you think will be small and a quick fix only to have it turn out to be a large project because one thing leads to another?  That's exactly what has happened with my office closet project.  I told you how we had leaks in the roof that lead to mold and sheet rock tape coming loose.  We are now not only making the closet door larger but fixing walls and ceiling.  This week we've been able to clean up the mold, tape the ceiling and walls and add texture to the repaired areas.


After my husband applied the texture I could move on the to the painting.  What a process it has been ! In order to cover the water stains I had to apply three coats of primer and one coat of paint to the ceiling in the closet.  The office ceiling also had water damage and I ended up applying two coats of paint.  Talk about miserable paint to apply.  First of all I HATE painting ceilings: it literally is a pain in the neck.  I decided to use the 1/2 gallon of ceiling paint we had on hand.  I don't know if was getting old or what, but the stuff would not roll on evenly.  I finally got the job done, but when you look in the office you may wonder what I've been up to all week because to anyone not knowing the problem it looks like very little progress.

The office is not the only thing I've been working on this week. I've been canning!  I love it when I can go in my back yard and pick produce for canning.   I've made six batches of blackberry jam and jelly along with two batches of syrup.  We will be eating well this winter :)


                                                     Have a great weekend!

                                                                  Joy

Monday, October 1, 2012

THE CLOSET MAKEOVER HAS BEGUN

Hi everyone, I hope you had a great weekend.  Last week I told you of my plans to make over my office closet.   Well, the work has begun.


 Let's start off by taking a look at this crowed, cluttered closet.


In an attempt to add book storage a few years ago, a small shelf was added.


As you can see in the photo, the shelf above the basket runs only 1/4 of the way across the closet and virtually inaccessible unless you get a ladder and stick your head around the corner into the space. There were a few things that got placed on these selves but never used for anything that needed accessing.  This room, along with the rest of the house, suffered from the roof leaking for 12 years before a tree fall on the roof making yet another major leak.   I knew the office had water damage on the ceiling, but didn't realize what we would find when we tore into the closet. (We are thankful that the church had the roof replaced and no more leaks.)
 This is what we found.
Gross mold Out came my rubber gloves, mask and a bucket of hot bleach water, and the cleaning began. The tape in the corners of the closet was letting loose as well.  I tore this off and my handy husband re-taped the dry wall.  At the same time, he made the door opening larger to fit a standard 4 foot bi-fold door.  Any of you who have done dry wall taping know the process of mudding, sanding, more mudding, sanding and loads of DUST!


This project is turning out to be more work than what I had anticipated, but the end results keeps me moving forward.  In the mean time this is what our living room looks like with all the office and closet stuff !


 Someone from the church stopped by Friday evening and asked if we were moving!  Who would guess a small room could have so much stuff!  My goal for this fall and winter is to purge our home, and get more organized.

Wednesday, September 26, 2012

DIY FALL WREATH

My sister and I have so many things in common.  We're not only sisters, but share similar tastes.  In fact even though we live 1700 miles apart, we end up buying the same things.  We were able to visit this past summer, and we had to laugh at our like tastes.  We have the same purse, shirt and showed up in like outfits.  We even have the same photo in her kitchens.

She recently told me about a fall wreath she was making.


She sent me photos along with instructions on how she made it.  The flowers were bought 1/2 price from Hobby Lobby making it a budget friendly project.

Here's what she did.


   Arranged the flowers -  alternating every other color.


 Using a a wire cutter, snip the heads off of the flowers.  
Using a hot glue gun, glue the flowers to the grapevine wreath.
And finally, a piece of the satin ribbon was cut and tied to the wreath.  
The ribbon can then be used for hanging the wreath.


I love the colors she chose for this wreath.
Here it is hanging on her front door.


  In the future, I'm hoping to share a project from my younger sister.


Monday, September 24, 2012

CLOSET MAKEOVER

Do you remember me telling you that I'm planning on making over our sons bedroom?  I've been gathering and collecting items for that room. But as it turns out we have taken on another project as well.  It's the closet in my office.  The Parsonage is small and has very small closets (Causing - clutter because of the limited space).  The closets have a lot of wasted space in them.  In the photo below you can see the wasted space between #1 and the #2.

 There are two side shelve up there but very difficult to access.  The measurements for the closet are 49 wide by 72 inches high and only 22 inches deep.  I would love a walk in closet, but I'm thankful that there is at least a closet in the room.

My husband is very skilled carpenter/woodworker.  He's such a great guy and lovingly builds things for me and helps with makeovers. (Things he has built for me in the past includes our headboard, Hooiser cabinet and  many other pieces of furniture,.  Click on these links to see each of these items.  The Headboard includes the plans to make your own.)   He has agreed to help me with this closet.  If I had to do the carpentry side of remodels, I'm afraid the wall might fall down when I was finished with it.

I've been gathering some inspiration photos-


I love this closet/office from IHeart Organizing.  The wall paper and colors that Jen uses in this space are so my style!

Another closet that I fell in love with is from Duo Ventures. 

I love the organization in this closet using Ikea storage boxes.   I think we will have to make a stop at Ikea for a few of these boxes.  The nearest Ikea for me is a two hour drive.   We  will be bringing our daughter to the airport the first of October, giving me the  opportunity to shop and pick up a few of these.


The closet/office from The Blooming Hydrangea - Note the stenciled wall and once again Ikea storage boxes.


You can look forward to the progress of this space in future posts.


LinkWithin

Related Posts with Thumbnails