Wednesday, September 26, 2012

DIY FALL WREATH

My sister and I have so many things in common.  We're not only sisters, but share similar tastes.  In fact even though we live 1700 miles apart, we end up buying the same things.  We were able to visit this past summer, and we had to laugh at our like tastes.  We have the same purse, shirt and showed up in like outfits.  We even have the same photo in her kitchens.

She recently told me about a fall wreath she was making.


She sent me photos along with instructions on how she made it.  The flowers were bought 1/2 price from Hobby Lobby making it a budget friendly project.

Here's what she did.


   Arranged the flowers -  alternating every other color.


 Using a a wire cutter, snip the heads off of the flowers.  
Using a hot glue gun, glue the flowers to the grapevine wreath.
And finally, a piece of the satin ribbon was cut and tied to the wreath.  
The ribbon can then be used for hanging the wreath.


I love the colors she chose for this wreath.
Here it is hanging on her front door.


  In the future, I'm hoping to share a project from my younger sister.


Monday, September 24, 2012

CLOSET MAKEOVER

Do you remember me telling you that I'm planning on making over our sons bedroom?  I've been gathering and collecting items for that room. But as it turns out we have taken on another project as well.  It's the closet in my office.  The Parsonage is small and has very small closets (Causing - clutter because of the limited space).  The closets have a lot of wasted space in them.  In the photo below you can see the wasted space between #1 and the #2.

 There are two side shelve up there but very difficult to access.  The measurements for the closet are 49 wide by 72 inches high and only 22 inches deep.  I would love a walk in closet, but I'm thankful that there is at least a closet in the room.

My husband is very skilled carpenter/woodworker.  He's such a great guy and lovingly builds things for me and helps with makeovers. (Things he has built for me in the past includes our headboard, Hooiser cabinet and  many other pieces of furniture,.  Click on these links to see each of these items.  The Headboard includes the plans to make your own.)   He has agreed to help me with this closet.  If I had to do the carpentry side of remodels, I'm afraid the wall might fall down when I was finished with it.

I've been gathering some inspiration photos-


I love this closet/office from IHeart Organizing.  The wall paper and colors that Jen uses in this space are so my style!

Another closet that I fell in love with is from Duo Ventures. 

I love the organization in this closet using Ikea storage boxes.   I think we will have to make a stop at Ikea for a few of these boxes.  The nearest Ikea for me is a two hour drive.   We  will be bringing our daughter to the airport the first of October, giving me the  opportunity to shop and pick up a few of these.


The closet/office from The Blooming Hydrangea - Note the stenciled wall and once again Ikea storage boxes.


You can look forward to the progress of this space in future posts.


Friday, September 21, 2012

DIY BURLAP TABLE RUNNER

I enjoy shopping and seeing all the lovely fall displays this time of year.  While on one of these shopping trips this past week, I saw some lovely table displays.  They were so festive with all the fall decor .  In one particular shop they had a burlap table runner down the center of the table, along with fall colored napkins and center pieces.  When I went to check the price on the runner, I was in shock!  It had a price tag of $59!  That got me to thinking of a remnant piece of burlap in my fabric box at home.  It was at that moment I decided I'd make my own.

Here's what I did -

1.  Found my burlap fabric remnant, that I'd picked up on clearance for .59 cents.
2.  Cut the fabric to the size I wanted.  To ensure it would be straight on the grain, I pulled a string out and then used that as my cutting guide.
3.  I then sewed 3/4 inch from the edge of the entire piece of the fabric.  This is to keep the fabric from fraying too far.


4.  After sewing completely around the edge of the fabric, begin by pulling the outer thread off and keep working inward until you get to the sewed line.  You may need to use a needle to pull the thread away from the burlap.


5. After pulling all the threads loose around the entire burlap, it was ready to iron flat.  That was it, my burlap table runner was  finished!  This is an easy project even if you're a beginner to sewing.


This burlap runner took less than 20 minutes to make.


 I love how the burlap adds texture to the table arrangement.
It was definitely worth my time and a great money saving project!

After I finished sewing my runner, I saw a comparable table runner at Pottery Barn . I think mine is a little shorter and not quite as wide, but quite comparable.  What do you think?


I'm linking this post to -
DIY Club October Monthly Project

The Lettered Cottage

Wednesday, September 19, 2012

POTTERY BARN FILE

You'll never guess what  I found while shopping this past week.

A Pottery Barn File from their file system line!


In the photo below you can see it hanging on the wall with other items from the Pottery Barn system line.  It is listed for $54.  I'd say I got a great deal paying only $3.99 at Goodwill.  It's one of the items I've been wanting but never felt justified to pay $54.  I'm now the happy owner of a Pottery Barn item - yah!

Source: potterybarn.com via Joy on Pinterest


Monday, September 17, 2012

DIY CAMERA BAG PURSE

While shopping for my new camera, I started to see some fantastic girly camera bags.  I really liked a pewter bag at Jototes, but it comes with a price tag of $89 plus shipping. Sadly it's a little out of my price range and budget.

This got me to thinking - "could I make one myself ?"  I looked around pinterest and found that Vanilla and Lace had the same idea as me, and posted a DIY on making one.  Also, a new follower to this blog  made a camera bag/purse.  Her name is Brie from Breezy Pink Daisies.  I found out we like a lot of the same things.  I already had my diy bag in the makings and guess what I saw on her blog?  A purse made over in almost the exact same fabric. I guess great minds think alike....Ha..Ha!  Moving on to the bag -

Here's what I came up with for my DIY Camera Bag / Purse.

I began by looking for some girly fabric and bought 1/2 yard of it. I ended up using less than half of it.


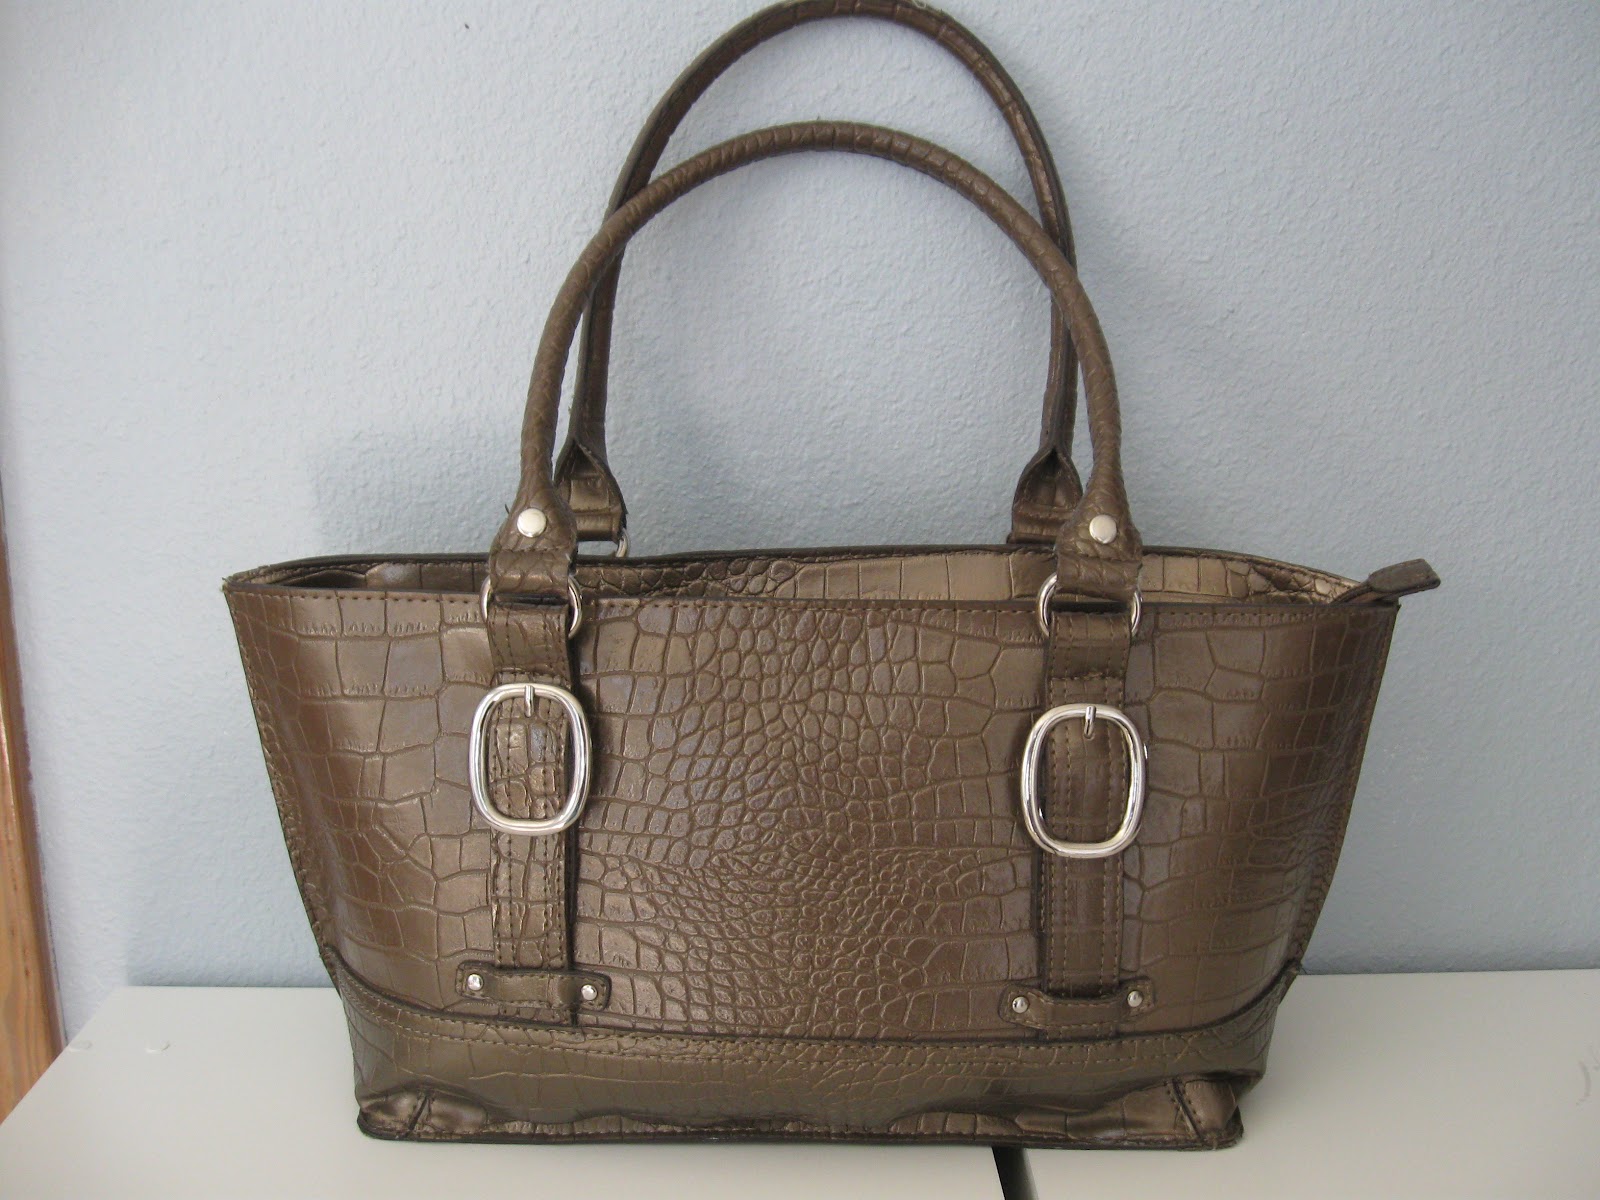
Now I needed a cute purse, so off to Ross I went and found this cute bag for  $23.


I was sad to find out that this purse was too floppy and would "cave in" too much so I returned the purse.  On to plan B, I had a $1 garage sale purse sitting on my closet self...not as cute as the first purse but the bottom is more stable.  It also has a zippered top which will help protect my camera from the elements.


I then began to shop my house for the other supplies I needed.
The first thing was some left over foam from a previous project.  I began measuring the inside of the purse ~ bottom, height and width.  After getting the measurement, I moved on to cutting strips of foam to match the measurements.


The next step was to cut pieces of fabric 1/2 inch wider (for seam allowance) than the strips of foam. Sewing them together to look like a small pillowcase.


To add a little more stability and firmness to bottom of the purse, I cut a piece of cardboard the same size as the foam.  I sprayed the cardboard with spray glue and added the foam on top of it.  I then slipped into the "pillow case" of fabric.  To finish the open side seam I simply hand stitched it shut.  On the two long side pieces I sewed a strip of Velcro.


   I also applied Velcro to the sides of the smaller partitions.

These will make the adjustable sides and partitions between camera parts.


The purse already had two built in pockets that work perfect for sd card storage.  It also has a zippered pocket where I can store lens cloth and miscellaneous small items  including the small tripod I got on a garage sale for .25 cents.

Here's how it looks with all the camera supplies.


The entire project only cost me $3 including the price of the purse.
 I'd say that makes for a pretty budget friendly and thrifty bag!

Wednesday, September 12, 2012

DSLR vs POINT AND SHOOT CAMERA - MY CHOICE

Back in the end of August my camera died and my shopping extravaganza for a new camera began.  I wrote  how I was trying to decide between a DSLR or a Point and Shoot Camera.  I've done a lot of reading to help me make my decision  finding out the cameras others are using and what would be the best choice for me.  I checked out blogs like  Dear Lillie because I love the photos she takes and wanted to see what camera she used.  Reading what others had to say about their camera's was very helpful and contributed to my decision. 
  My decision is ..................... Drum roll  ............. the

 Nikon Coolpix 510


Source: amazon.com via Joy on Pinterest


This camera is in the low to medium price range, but yet is a upgrade from what I had before.   It's a cross between a point and shoot camera and a DSLR. One review said it's like the difference between a Mac and a PC. The Mac comes with everything loaded ready to use and you can't change many things on it.  While the PC comes with things loaded but you are given the option to make changes or upgrade.  The Nikon Coolpix 510 is like a PC in that regard with its manual settings feature.  It also has a lot of other features I liked,  high-speed continuous shooting capability, built in GPS, full HD (1080p) movies with stereo sound (still and movies with up to a 42 X zoom)!  It also has the 3 inch vari-angle  LCD  movable screen.  Another big plus about this camera is that it comes with image stabilization, and high-resolution imagery  in LOW light!  I also like that it's not totally manual and I don't have to change lenses.  To some of you this may not be a plus, but remember I'm a real armature when it comes to cameras and taking photos.

I'm looking forward to its arrival and learning how to use it.  Hopefully you'll see some real improvements in the photos on this blog.  Please bear with me while I learn how to use the camera.

Here are a few of the great tutorials I found while searching for a camera.

Centsational Girl had a post on learning to shoot in manual setting.
I Heart Naptime has a series on photography and photography tips.
Life With My 3 Boybarians has a series - 31 Days of Photo Tips
The Design Confidential  - Learn to Shoot Like a Pro: with tutorials for beginners.

You can check out my Pinterest board for more tutorials and tips.

Everything I've said about the Nikon Coolpix camera is what I've found out and my opinion.  I'm not being compensated in anyway to give a review on this camera.  For those of you wondering,  I purchased this camera from Amazon.


Friday, September 7, 2012

DIY FALL DECOR TUTORIAL

 Yesterday I did a post entitled  Fall Decorating Room by Room .  I promised in that post a tutorial.

Budget Friendly Fall Wall Art 
 This is such an easy project that anyone can do it.


 Here's what you'll need for this project.
 1. Two plates
2. Vinyl and a Cricut machine or sticker letters.
3. Wire plate hangers.

I started with two .49 cent thrift store plates.


 My Cricut Expression machine along with some black vinyl.


 I used the machine to cut give thanks. 
 If you don't have a Cricut machine, you could use stickers like I use to create
 my SPRING eggs art.
Simply pick the font and size font you want and cut.
The next step is to adhere them to the plate by simply rubbing them on.


I took down my spring/summer plates and artwork,


and replaced them with the new fall plates and candle holder.


The candle holder was something I had in the closet, that I bought on an after Christmas sale for $3.
The candle is another .49 cent thrift store find.


 In this photo you can see the easy
 Budget Friendly DIY Fall Art hanging on the wall.

Cost run down
Plates - .98 cents
Vinyl - had on hand from another project
Plate hangers - had on hand.
Candle holder - $3
Candle - .49 cents
total cost to make Give Thanks Art  = .98 cents
Total grouping costs = $ 4.47


I'm linking this post to -

DIY Showoff Fall Festive

Thursday, September 6, 2012

FALL DECORATING - ROOM BY ROOM

It's hard to believe that we're seeing the end of summer and fall fast approaching.   We didn't feel official summer until after the 4th of July.  The joke around here was that we had June-uary, because of all the cold wet weather.  We are now enjoying beautiful weather, but fall is definitely in the air with the crisp cool nights and a nip in the air most mornings.

That being said, I think it's time to start some fall house cleaning and bringing out my fall decorations.  I'm planning on doing this room by room; and while doing this I'll share the fall decor I've added to each room.

Today I'll begin with the dinning room.  Of course, the decorating is done on a limited budget, but that doesn't mean you can't add a few new things.   For the table decor, I began by placing a garage sale table runner down that I've had for a few years already. I then added a candle stick that my husband made years ago.  I then placed a 49 cent thrift store candle on it and flanked it with two vertical wheat bundles.  The wheat bundles were found at my local thrift store last week for 99 cents each.  I love to know how much I've saved by purchasing second hand items, so I did an on line search for these and I found some similar ones for $ 59.98 each.  That makes for a $119.96 savings and one thrifty find!


View of the dinning area taken from the kitchen.


You may also enjoy seeing my fall decor from previous years.


You'll want to come back and read my next post as I'll be sharing a tutorial -
DIY budget friendly wall art.

Have a great day!

Monday, September 3, 2012

THRIFTY FINDS FROM YARD SALES and A THRIFT STORE

Wow! what a great weekend for yard sales!  I knew it would be great when there were a lot of yards sales  and the first few had some great finds.  Yay! 

 Here are a few of my finds, most of them brand new still in original packaging.


I'm planning a room makeover converting our son's bedroom into a guest room. It makes me sad that our son moved away from home, but the room is in need of new paint making it a good time for a makeover.  These home decor items will be going into that room.  I find it so much fun to collect things for a room that will be receiving a makeover.  I start to visualise how I'll put the room together as I collect items.


A king size comforter is a rare find, so you can imagine how excited I was to find this one.  It's even in the color I wanted !


 A $2 pillow


I've been using a 9 X 13 basket that was a wedding gift 33 years ago. 
 To say the least it's seen better days. This 99 cents basket will be replacing it.

LinkWithin

Related Posts with Thumbnails