*********************************************************
Hi there Thrifty Parsonage readers! I'm Brie from Breezy Pink Daisies and I'm so happy to be here while Joy is busy moving. {Good luck Joy!} So I found Joy on Pinterest and knew we'd be great bloggy friends right away. We have so much in common (Love of garage sales, thrift stores, God, and decorating!) Funny fact, we both made similar camera bags inserts (here's mine) before we even "met".
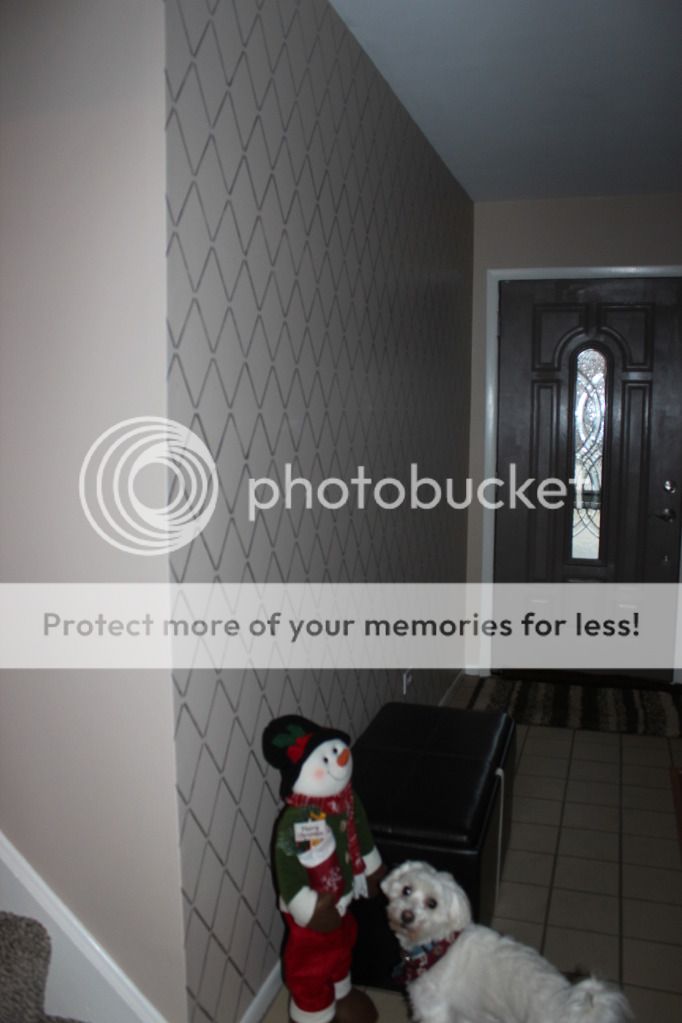
Anyway, onto this post I'll be sharing with you guys. So I can be very indecisive. I got a stencil in September and just finally used it to stencil one of our walls over Christmas break. O my, I am IN LOVE with how it turned out! Why did it take me to long to do it?! My excuse was that it was so hard to decide which wall in my house to stencil because I don't have many nice small rectangle walls and my family room has wood paneling so that entire room wasn't an option. I thought about doing our bedroom - but not many people see that room. So I ended up doing a random wall to the right when you walk into our house.
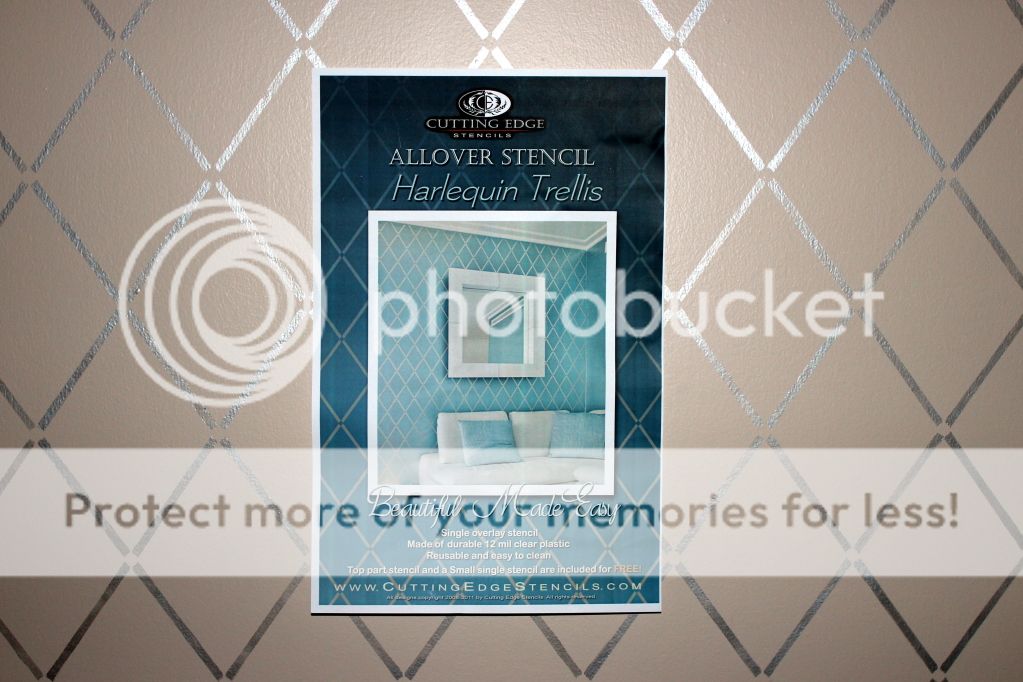
The stencil I used was from Cutting Edge Stencils and I won it from one of my favorite DIY bloggers - Sam at The Junk House. The stencil I choose was the Harlequin Trellis Allover Stencil. The background wall color is Comforting by Behr and the stencil color is Metallic Silver by Martha Stewart.
Metallic paint is so much fun! So glad I choose that after MUCH debating over what color I would use. Surprisingly, it didn't even use half of the paint to do the entire wall! So, I have a lot to use on other projects...hmm. However, it is really difficult to take pictures of because it reflects light, but that's what I love so much about it in real life!
It took about 4-5 hours to complete. And that was with my standing back and admiring my work after each stencil and also "erasing" a few sections when I decided they looked funny or didn't match up perfectly. (The paint was actually pretty easy to wipe off even after being on the wall for 10-15 minutes!)


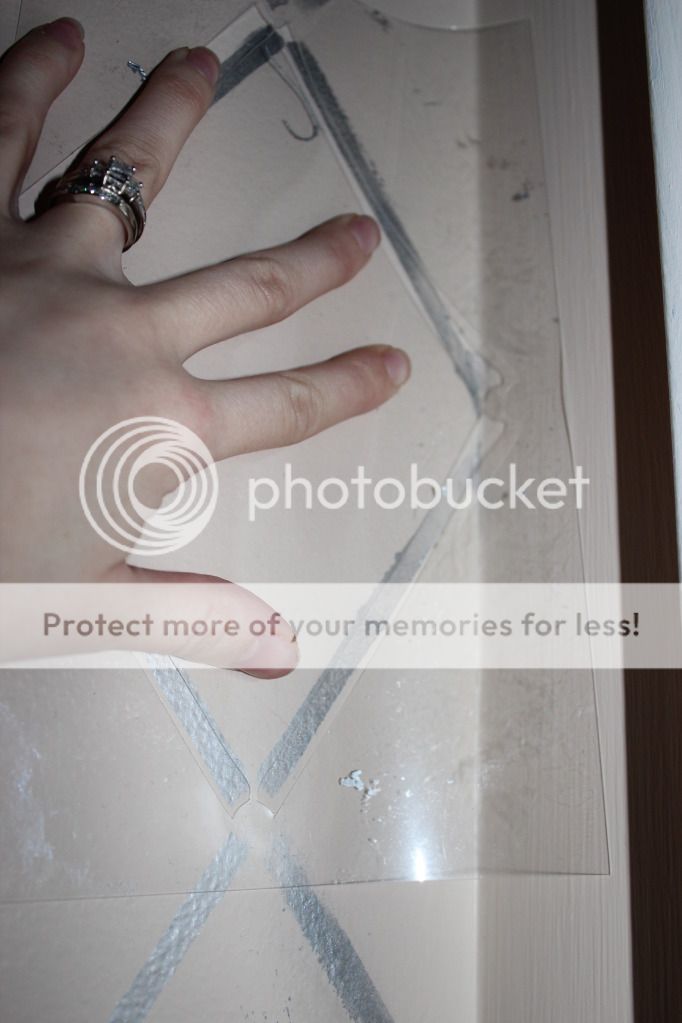
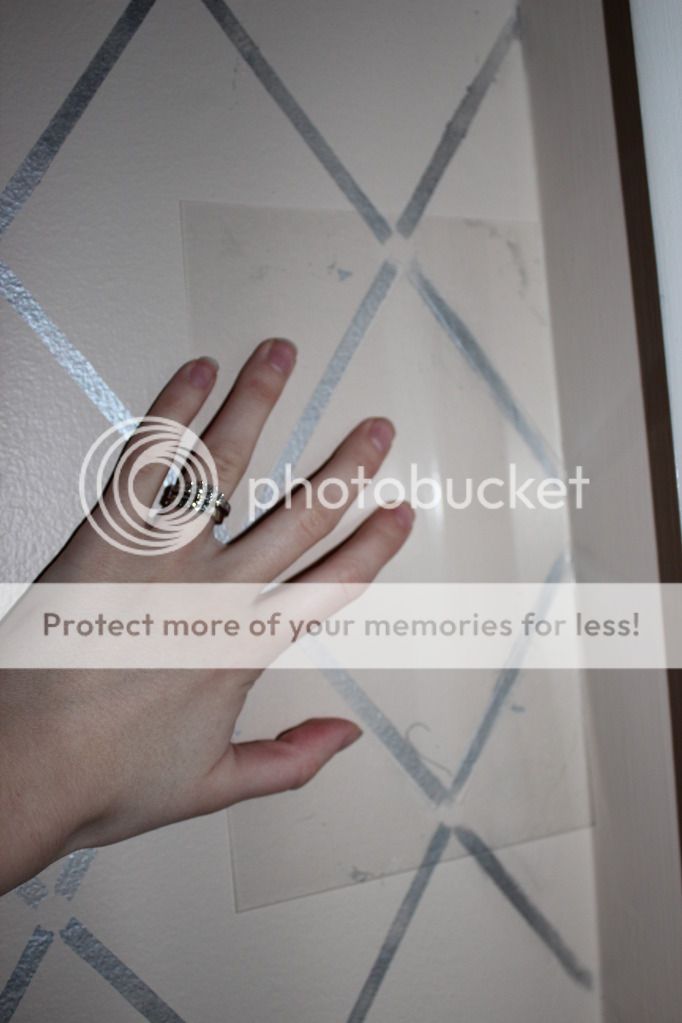
After a little self convincing talk, I decided to cut the small stencil so that it would line up nicely against the wall. See the difference that made in the pictures above. It saved me a lot of time and frustration and probably some tears too. Just being honest here!
Isn't my wall beautiful?! I could just stare at it forever :)
In these next two pictures you will meet Raphie and Francis. Can you guess who is who? :)


Thanks so much for having me over here!
Feel free to stop by Breezy Pink Daisies. I love meeting new people, so don't be shy! And you can see all the crazy and fun things I've been up to lately...like dressing up as a fire dancer at a murder mystery party and coloring light bulb with sharpies :)


I like it!
ReplyDeleteThanks April! It was so worth it :)
ReplyDelete