Tuesday, May 15, 2012

ACCESSORIZING THE KITCHEN ON A LIMITED BUDGET


The fun part of making over a room is adding the accessories.  It's like the frosting on a cake.  In my last post, I shared my kitchen makeover.  Today I'll continue to show you how I accessorized my kitchen on a small budget.  The accent colors I chose were white with touches of yellow.


For me, the process starts several months before the makeover begins.  I create a mood-board with ideas and inspirations.  Pinterest is also a great place to get ideas.  I then begin to watch for items at  garage sales, thrift stores and in the clearance section in stores.
The items above were all purchased while thrift store shopping.  I place the collected items in box, and pull them out as I decorate.


Here's an example of how I use these items.  The canisters I found at Goodwill and the metal coffee wall art was from a garage sale last summer.  The utensil holder is a vase left over from our daughter's wedding.  It was bought 1/2 price at Micheal's.


The napkin holder and napkins were purchased from a garage sale for .25 cents each.  They were both brand new and still in the package!  The napkins I had tucked away in a drawer.  I had forgotten about them, and was excited to find them when I needed a little more yellow as an accent.


The accents above the cabinets were all second hand items with the exception of the little chicks on the left and the plate on the lower right.  I bought the plate at the dollar store a few years ago.  The chicks I bought new at a hardware store (2.99)  to add to my spring decor this year.


 Wanting white accents, I took this thrift store chicken and spray painted it white.  Spray paint is a thrifty girl's best friend!


I also shopped the house for things I already had.  My diy  monogram plate worked perfect in the space.  One new purchase for the room was letters spelling out - EAT - purchased, of course, for 1/2 price at Michale's.  A funny little lesson learned - I placed the EAT letters neatly above the cabinets and thought it looked great until my children came home and said "Mom, why do you have a FAT sign in the kitchen?"  I had hadn't noticed that the lip on the cabinet hid the bottom the E and it looked like FAT.  I guess it would be a good reminder for me to stick to my diet, but decided to add a few block to raise it up and spell the word EAT as I had originally planned.

Above the refrigerator, I placed a .49 cent thrift store basket along with my .99 cents lemons.

 A .49 cent thrift store vase and flowers I already had were place on the counter to add just a touch of yellow.


This ceramic pot place in the dinning room is over 30 years old.  I made it before I was married, and it holds the slip of a plant that was given to us when our son died.

Pots line the window seal that were found at a thrift store as well.


The coffee art work I had on the wall by the coffee pot previously.  I hung it above the window, accenting the coffee themed curtains.  This was a  thrift store find some time ago for $4.99.

My daughter gave this metal cup hanger that she found at the dollar store.  I just added the cups from my dish set. Total cost $ free.


New dish towels hang on the oven door.  They were only $1.25 each from Kohl's, using a 30% off coupon on the already 50% off towels.


I made a soap dispenser using a Ball jar my mother gave me.  I used the pump mechanism from an empty soft soap.  I spray painted a metal lid and drilled a whole in the center of the lid.  To keep the pump in place I simply applied a liberal amount of hot glue to hold it in place. 
 Total cost = free!


In the dinning area, I added a couple of plates to my made over shutter.
The plates were bought at TJ Maxx for $2.99 each. 


Here's a break down of the total cost for accessories. 
3 lemons @ .99 = $2.97
wire basket = .49
Faux window plants 2 @ .99 = 1.98
( I saw these plants in the store for $6.99 each!)
small white pot for window plant = .49
Canisters set of 2 for $8.99 
Napkins = .25
Napkin holder = .25
EAT letters $1.25 each = $3.75
Small white vase = .49
Towels 2 @ $1.25 each = $2.50
Plates 2 @ $2.99 = $5.98

Total cost for accessories $28.14

For the total cost of the makeover I needed to add the price of the
Curtains = $4.99 
and
1/2 gallon of paint = $15

Making the total cost of the project 
$48.18

( I did not include in this price things I shopped the house for - using what I had.)

That made for a makeover for under $50 !


Friday, May 11, 2012

KITCHEN MAKEOVER REVEAL

I've kept you all waiting long enough to reveal my kitchen makeover.  My goal for the room was to make it  brighter and have a clean-line look to the room.  The accessories I chose where in white and yellow.  Remember how I decided to use yellow to accent since I'm working with cabinets that have a yellow tone to them.  Well, changing cabinet color isn't a option when you don't own the home, so you work with what you have.  At first I was leaning toward painting the walls gray, but after a few sample boards, I changed my mind and chose the paint color - Beach House from the Valspar Signature collection.  The photos I took don't show the color real well, but it's a blue/gray with a touch of a sea blue/green cast to it.


 The photos above are showing the north side of the room.


This is the view of the room from the dinning area.  The stove and refrigerator are on the south wall.  We're so surprised  how adding a new paint color made the appliance look newer, brighter and whiter!  Here's a photo recap of what the room looked like before.


The paint color and cabinets seemed to blend together.


This view is taken from the dinning area look toward the kitchen.


I debated where to stop with the paint color.  At first I thought about stopping at the end of the cabinets, but that didn't seem to flow well.  After talking it over with my husband, we decided to take it into the dinning area and make it an accent wall.   I like how the end result ties the two areas together.


You may recall my thrift store curtain find for $ 4.99.  There were four panels and one valance.  (The brand on the curtains is Home Trends.)  I cut two of the panels down and created a valance.  I then had enough valance for the dinning area.  I have some left over fabric that I'll be making into a table runner or place-mats.


The wall paint color matches the curtains perfectly!


We love the new clean-line look to the room and how much brighter it looks.  I'll be sharing the fun of adding accessories in my next post.
Have a great day!
I'll be linking this post to -
The Shabby Creek Cottage - Transformation Thursday

TDC Before and After

Wednesday, May 9, 2012

KITCHEN MAKEOVER

You've been patient while waiting for my photos of our kitchen makeover.  I'm sorry for the delay and not posting for a while, but we were out of town for church work.  I've also been working on going through over 3000 emails because I've been bombarded with spam!  Things got a little busy thus the delay.  

Today I'd like to share how the kitchen and dinning room looked before I started the room makeover.  (Somehow my before photos got deleted from my camera, so I'll share some from my files and the few that I managed to find on my camera.)

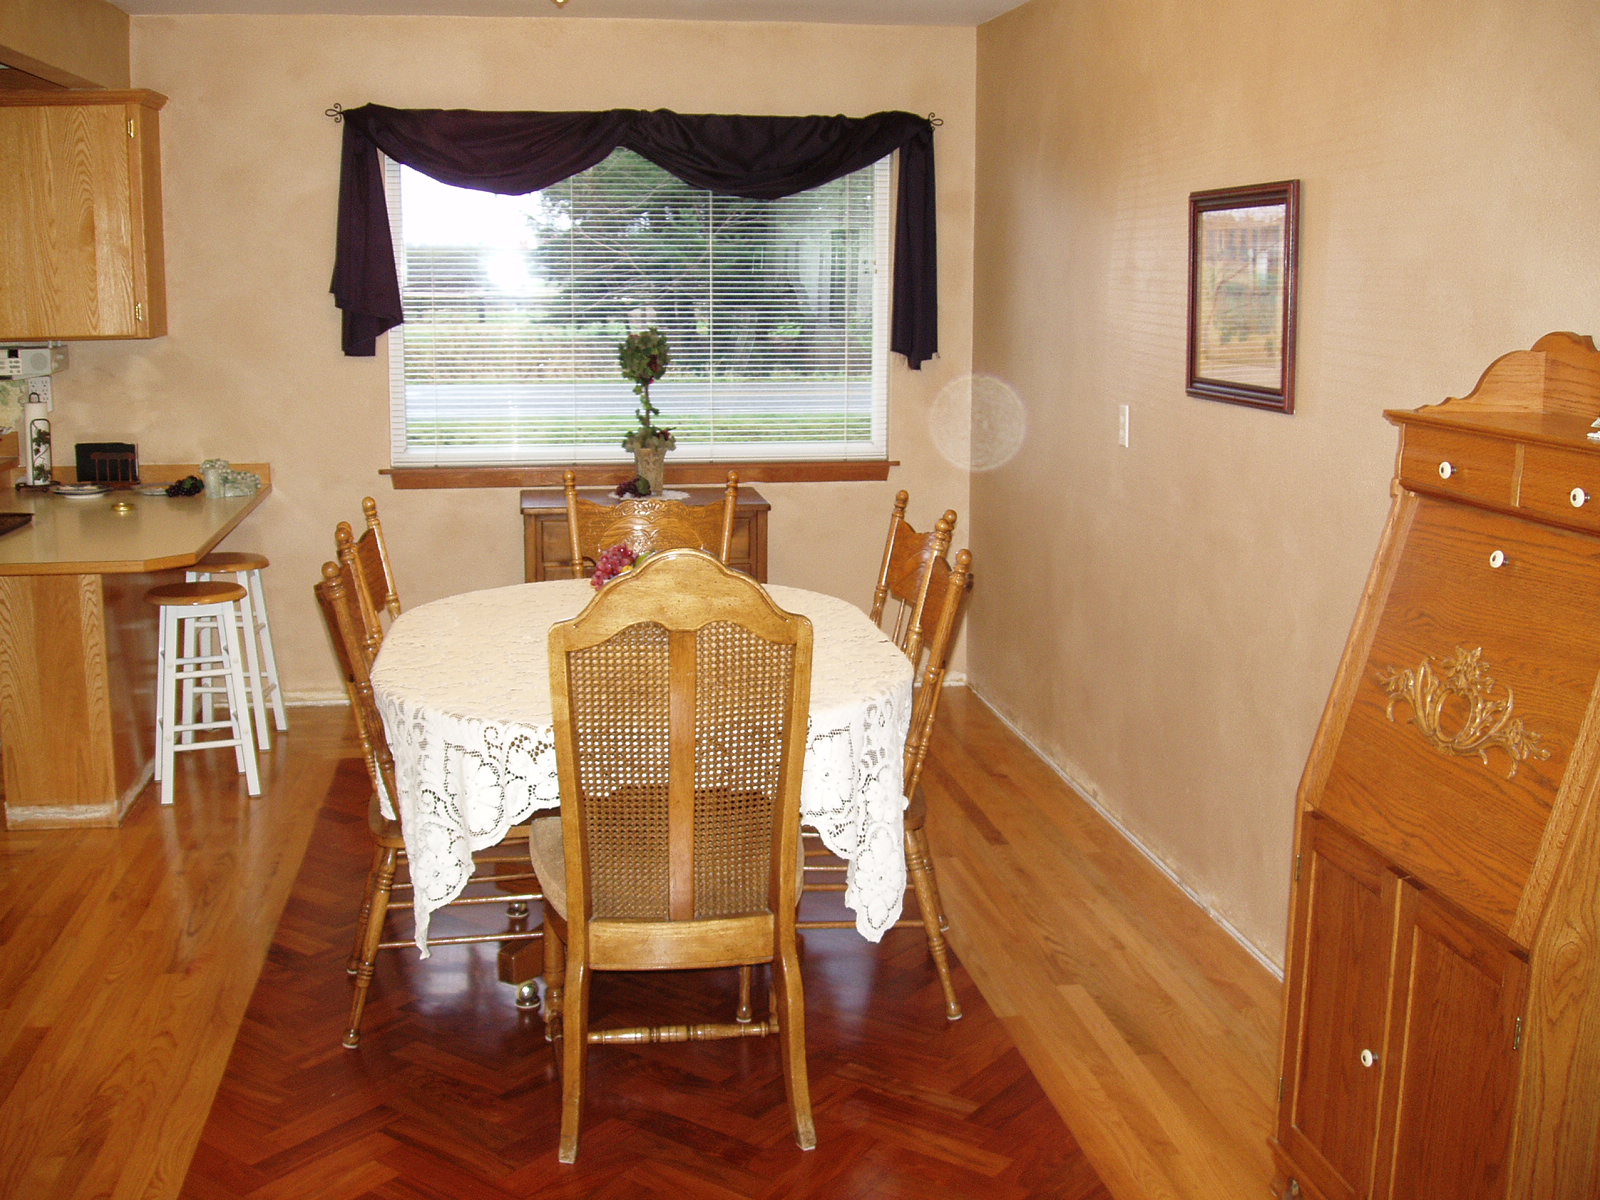
The room was painted a with faux (Tuscany) look that included stenciled grapevines.  The photo below was taken before the Toile curtain was hung.


View of the kitchen from the dinning area.


The photo above was taken when we were tearing out the old floor getting ready to put down the hardwood floor.  You can see the walls in this photo. The glaze was applied using a feather duster.


The grapevines on the wall were a 4 step stencil that I painted.  I snapped a photo of them after I already had the blue painters tape in place while getting ready to paint.


Here is a view of  the dinning area taken while we working on wedding favor boxes.

The photo below is the room right after the hardwood floors were installed.  The baseboard wasn't installed yet. This photo is also before the toile curtains, otherwise the room looked pretty much like this before I started the makeover.


The dinning room curtains that I made.


The curtain in the kitchen was a thrift store find.


In the next post I'll share the new and improved room.  It's amazing how a few small changes can change the look of the room. 

Friday, April 27, 2012

BUDGET FRIENDLY CANISTERS FOR THE KITCHEN

The work of making over my kitchen has begun.  I'm hoping to have it ready to share  with you sometime next week.  I've been gathering new items for the room over the past few months. Sometimes my friends tell me my nickname should be Mrs. Goodwill Hunting, because I'm always hunting for good used items at thrift stores such as Goodwill.  Let me show you my most recent find at Goodwill.


I found this set of canisters for $ 8.99.  The smallest canister was $10.99 and the larger $19.99 at my local Fred Meyer store.  That is a total of $ 33.62 with taxes, making it a savings of $24.63!  I'm pretty excited about this thrifty find.  Have you found any great thrifty finds lately?

Monday, April 16, 2012

MAKING OVER A ROOM

Do you ever change your mind in the midst of planning a makeover?  When I'm going to make over a room, I start gathering inspirational photos from magazines, blogs and Pinterest. The first major thing is to pick a color theme for the room.  I search for items for the room at thrift stores, garage sales and clearance sales.  Piecing an inspiration board together is part of the process, however sometimes I make a u-turn in the plans.  I'll find a new item that will work better for the room; and it's something that both my husband and I love.  That's what has happened with my kitchen plans.  Originally I was thinking along the lines of gray or blue gray walls with accents of yellow and white.  That was until I found four curtain panels and a matching valance at the thrift store.  We both enjoy coffee along with the colors of the sea.  These curtain panels is a perfect blend of these themes. 


Thus a change in plans.... I'll still be using some accents of white and yellow but just in a little different way than I first thought.

 (First inspiration)

There's always the challenge of a small budget and working with what I have, and no structural changes in a home you don't own. How can I make the room look new and fresh without any major money spent.  My plan is to begin the process this week.  

 Things to be done...

 - paint the room
 -makeover the curtains
- create new accents/decor for the room
-wash cabinets and woodwork

I'll keep you posted on the progress of the room makeover!


Friday, April 6, 2012

EASTER/SPRING DECOR

With Easter fast approaching, I thought I'd show you one more area where I've added some Spring/Easter decor.  I used items from around the house to create this vignette.  The idea came to me when I came across a toy from my childhood while working on cleaning up our storage room.  When I saw it, I thought this would be great to put out for spring. I don't believe in the Easter bunny, but I love baby bunnies and baby chicks.  Growing up on the farm, these little animals were always a sign of spring.

Here's the vignette that I place in our Hoosier cabinet.


Notice the spots on the cart due to the age of the toy.  I think it adds some unique character.  Adding a few eggs and grass dress it up just a bit more.


I also added the little silver cup that I used as a child.  The Peter Rabbit book holds many memories of reading it to our children when they were small.


A twenty-five cent garage sale bowl sits on the top shelf with grass and eggs inside to mimic a nest.

May you all have a great weekend and 
Blessed Easter 
 I'll be celebrating Easter with great thankfulness...
Thankful for such a loving God  who sent his
 Only Begotten Son 
to die 
on the cross for my sins...

Rejoicing that He has Risen!

Monday, April 2, 2012

SPRING CENTERPIECE

This spring we've had so many dark and rainy days.  I decided I needed to add something to our home to give us a little cheer and brightness.  I've been working on collecting items for this little project including Starbucks coffee jars, flowers and a wooden box.  I've been watching the thrift stores for an old wooden wine box but haven't found any.  My husband could make one, but has not had the time to do so.  On my last trip to the thrift store, I found a box for .49 and decided it could work. 

 Here's what I came up with.


The Gerber daisies were purchased when marked down 50% making them $2.99.  They were on a bush; and I just cut them off and put a stem or two in each bottle.


Total cost for the project $ 3.50 !


As you know, Picnik photo editing has been discontinued.  I found the photo editing program  PicMonkey, and thought I'd give it a try.  It has some fun features for editing.
(I'm not being paid to promote this site, but thought I'd tell you about it 
in case you're looking for a photo editing program.)
Here's what I did while playing around with it.


Have a great spring day!


DIY by Design: Bunny Blog Hop


LinkWithin

Related Posts with Thumbnails