Tuesday, February 15, 2011

Anyone Can Sew Knife Pleats

The fun part has begun on the makeover of my wing back chairs... the sewing!

I've decided to add a knife pleat at the bottom of the chairs. It will give the chairs added texture and a tailored look. Some of you may be asking "what is a knife pleat?" According to the definition it's ... a sharply creased narrow pleat, usually folded in the same direction.

If you have basic sewing skills and can sew a straight seam, you can sew knife pleats. Below you'll see instructions along with a few handy tricks for making these pleats.


DIY Knife Pleats

After selecting fabric, you're ready to begin.

1. Measure the distance around the chair that you'll be adding the pleats to. Multiply this measurement by 2, and add 18 inches.
Mine was 106 inches X 2 = 212
+ 18 inches = 230 inches

2. After deciding on the height you'd like your pleat to be, do these calculations. (I wanted mine to be around 2 1/2 inches high.)
Double this and add 1/2 inch seam allowance.

2 1/2 X 2 + 1/2 = 6 inches

Cut your fabric to the needed height and length.


3. Fold the fabric together lengthwise with edges meeting
(wrong sides together).


4. Iron the folded fabric with wrong sides together.


5. Determine what size pleat you'd like (I wanted mine to be between 1 inch to 1 1/2 inch), and begin the folding process.


6. Fold the fabric over to the pleat depth, and pin in place.


7. To make the pleats uniform in size without having to measure each pleat individually, I used a ruler as a guide (1 1/4 inch - pleat).

You could create your own tool for various size pleats using a piece of cardboard, plastic or flat piece of wood cut to the correct size.

Fold the fabric over the ruler and line the folded piece up to meet the edge of the previous pleat. Making sure to pin each pleat.


8. Iron the pleat - if you don't, the pleat will not keep its shape.


While working at my ironing board, I heard this honking noise outside my kitchen window. When I looked out, this is what I saw across the road.... Trumpet Swans! Aren't they beautiful?


9. Once all the pinning and ironing is finished, you're ready to sew. Join the pleats together by sewing a 5/8 inch seam on the unfinished edged of the fabric.


10. Completed sewing....


...waiting to be attached to the chair.


After completing the pleats, I moved on to making the piping.


When I'd finished my sewing for the day, I went to do a little blog reading.

I thought it was interesting(after just sewing my piping) to find a post by Miss Mustard Seed with a tutorial on how to make piping.
For any of you who would like to see an excellent DIY video on making your own custom piping, go to her blog to view this video.
(I'm not being paid to endorse this, but I enjoyed her tutorial).


Linking to...
Hope Studios : Tutorial Tuesday

Tuesday, February 8, 2011

CSN Stores

Have you found yourself thinking about summer and warmer weather
on these cold blustery winter days? Dreaming of sitting in your back yard watching your children playing on their swing set while sipping on a cold lemonade. Did you know that you can find everything from swing sets to back yard toys and furniture at CSN stores?


You can go to CSN which has over 200 online store offering many great items!

Here are a few things I found while browsing their stores.

Some very cute clocks.


Ashton Sutton Galaxy Wall Clock.


Enrico - Fulvi Gallery Wall Clock


I think these pillows are just adorable?

Jenna Pillow


Chelsea Frank Pillow


Thomas Paul - Oology Pillow

So if you'd like to do some shopping from the warmth of your home,
(while you're dreaming of warm summer days)
head on over to your CSN stores.

Have a great day!

Joy

Thursday, February 3, 2011

Transforming Wingback Chairs

Well, the transformation has begun!


I made my trip back to Jo Ann's fabric in search of new fabric for the wing back chairs. My search lasted for almost a hour. I didn't realize how difficult a task this would be. I love so many of the upholstery prints at Jo Ann's. Here are just a few that I liked and made my decision hard .....

Waverly Chippendale Fretwork Mist

Nexxus Aqua

Geometria Palma

Wavery Adorment Silver Fabric

After giving it a lot of thought, however, I realized that these chairs have curves, and a bold print could be a little much. I'll incorporate prints into the room in other ways.

The decision was made to stay away from white (see my post on the white fabric) or dark fabric. The curtains in the room will bring in dark brown, while the rest of the room will have tan / cream and seascape blue colors.

My final choice ended up being an off white duck fabric.


Here's my work in progress.


It took me 4 hours to get it to this point.


Along with some very sore fingers,
because I had to pull out all of these staples!


These chairs are going to take me some time!
But I'm calculating the dollars I'll be saving by DIY . Take a look at this Pottery Barn Chair.
Mine will be very similar when I finished with them.

The Pottery Barn Chair is listed with a price tag of
$699 - $849
Take that times two chairs, it will be quite a savings for me!

I plan to keep you posted as my work progresses.

Have a great day!


Joy


Thursday, January 27, 2011

Wingback Chair

My living room makeover has been coming together, but I've been struggling with my living room chairs. I have two "pink / mauve" chairs that I've had in our living room for about 15 years. The chairs were an inheritance gift and were high quality chairs. They remain structurally very sound chairs, but are very dated because of their color and fabric.


My first taught was to make some drop cloth slip covers, but decided against that.

I then found a set of chairs like these faux leather Avington Slipper Chairs from Target.


photo source - target.com

I even took a pair home, but they looked too small and dark for the space
along with the fact that my husband didn't like them because they lacked arm rests.

So I'm back to the wing chairs!

Jo Ann's fabric had their duck fabric half price last week so I bought some white fabric thinking I would reupholster the chairs.
Here it is laying on one of the chairs.
It looks too light compared to the room's cream/tan colors, wouldn't you agree?

So I'm off once again to Jo Ann's to look for new fabric.


Sunday, January 23, 2011

Bathroom Makeover Revealed - Bead Board Wallpaper

I'm finally back and able to blog after being gone. It has taken me a bit to recover from vacation, a cold and going out on pastoral calls with my husband.

You may recall back in October in this post, how I had two rooms in the makeover process. It's taken me quite some time to get these rooms finished.

This bathroom has had problems since the day we moved into the home. I'm constantly fighting mildew on the walls and ceiling. When the old ceiling fan died, the church building committee decided to put in a new bigger fan. I thought the problem would be gone, but no such luck! Since this room is so small and no windows for ventilation, it continues to get mildew on the walls and ceiling. I've been washing, priming and painting them every 6 months. Having used up the last of the beige paint. I decided to go with a darker richer wall color with an anti-mold additive in it. I hope it will work!!!

Here are a few before photos....


If you read my post back in October you'll recall my mishap with paint the paint color. I did end up having to buy a new gallon but got the color I wanted.

I love bead board , but since we live in a parsonage and don't own the home, I decided to go with something less permanent and costs efficient.... paint-able bead board wallpaper! You can purchase it at your local hardware store. I found mine at Lowe's.

Here are a few photos of the work in progress....


(note old towel holder...dark and ugly).

...adding the new blue paint to the top 1/3 of the walls.


... the bead board wallpaper was added next.


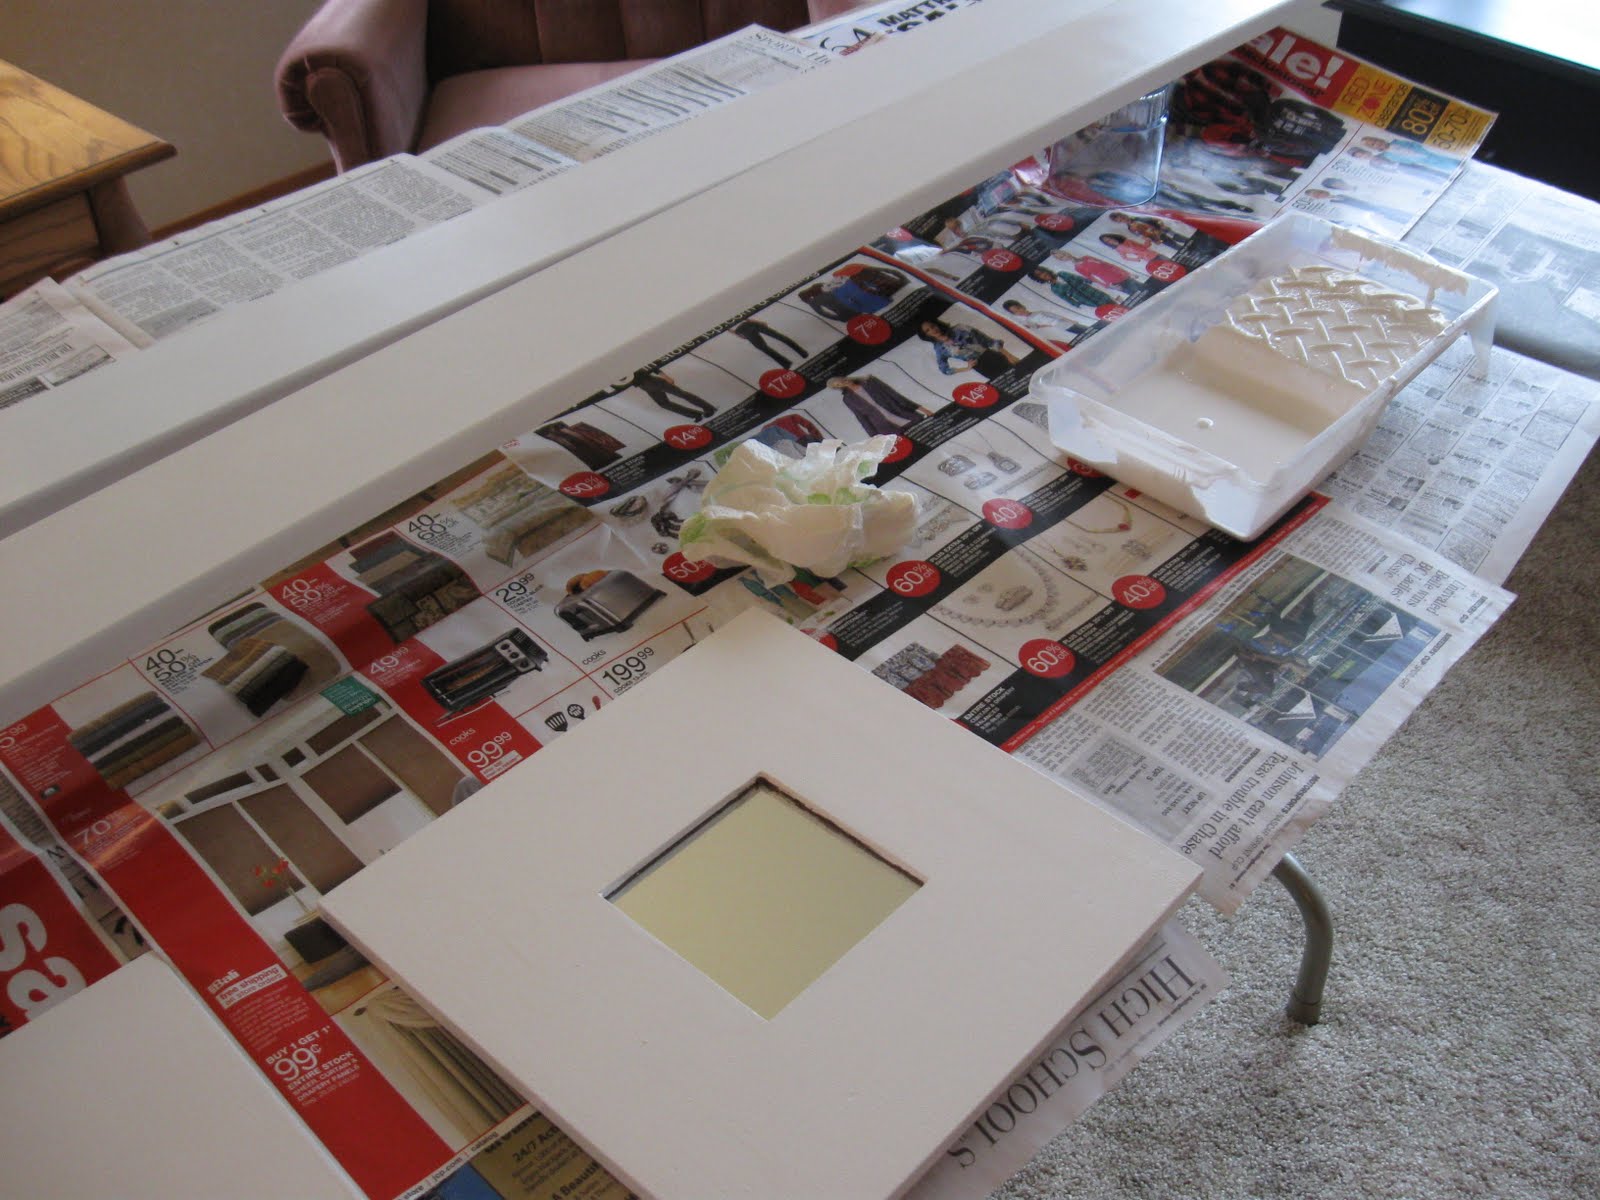
... trim and thrift store Ikea mirrors were painted white.


.... my husband added the trim board between the paint and wallpaper.


...the bead board wallpaper was painted white, and the Ikea mirrors hung,
adding depth and light to the room.


... the oak wood surround the mirror was painted white,
giving it a fresh and new look.

... the shelf is hung with fresh "new" (use what you have) accessories and towels.
Garage sale baskets add texture and height to the shelf, along with some bath salts in a thrift store jar.
The blue vase was a keep sake from my grandmother,
while the starfish was a souvenir from one of our coastal vacations.


... accessories added to the counter include a .50 cent soap dispenser
and a wire basket from Goodwill to hold the toilet tissue.
The basket reminds me of these baskets from Pottery Barn.

...I've had these apothecary jars for years and are a great way to store bathroom items.
... they remind me a little of these Pottery Barn jars, but at a fraction of the cost. ( using what you have).

The "new" towel bar was purchased for .49 cents at my local thrift store.
Doesn't it look much better than the old wooden one? Much cleaner and not so dark!!!

Some of you may be afraid that adding a dark color could make the room look too dark and gloomy. I have found just the opposite by adding a dark rich color along with a bright white made the room look very bright and cheery.

What do you think?

I'm linking this post to.....

Photobucket

Thrifty Decor Chic


Chic on a Shoestring Decorating


Wednesday, January 12, 2011

Home Again!

I'm back!!!
Did you miss me?
I have a little secret to share with you ....
I've just returned home from a two week trip.
This was the first time in 13 years we were able to spend
Christmas and New Years with our families!

It was quite the trip .... we traveled over 3500 miles and spent 60 hours riding in the car (lots of family bonding time). We weathered through icy roads and a whiteout snow storm! Yikes!!!
Our trip home was delayed by two days due to freeway closures, but that meant more time with our family :)
What joy and blessing to spend the Christmas Holiday with family and friends!

While traveling home, I started to come down with a cold and have been sick for the past week.
I'm starting to regain my health, and hope to be back posting soon!

Please forgive any delays in answers to emails, I'll be getting back to you soon.

Here are a few of my photos of the beautiful scenery we enjoyed on our trip.


LinkWithin

Related Posts with Thumbnails