Wednesday, April 1, 2015

SPRING DECOR 2015

Hi everyone!  It's great to back after a few months break away from blogging.  As I told you in a previous post, I started a new job and it has taken up quite a bit of my time.  Now that I'm finished with orientation, I'm hoping to have more time for posts.

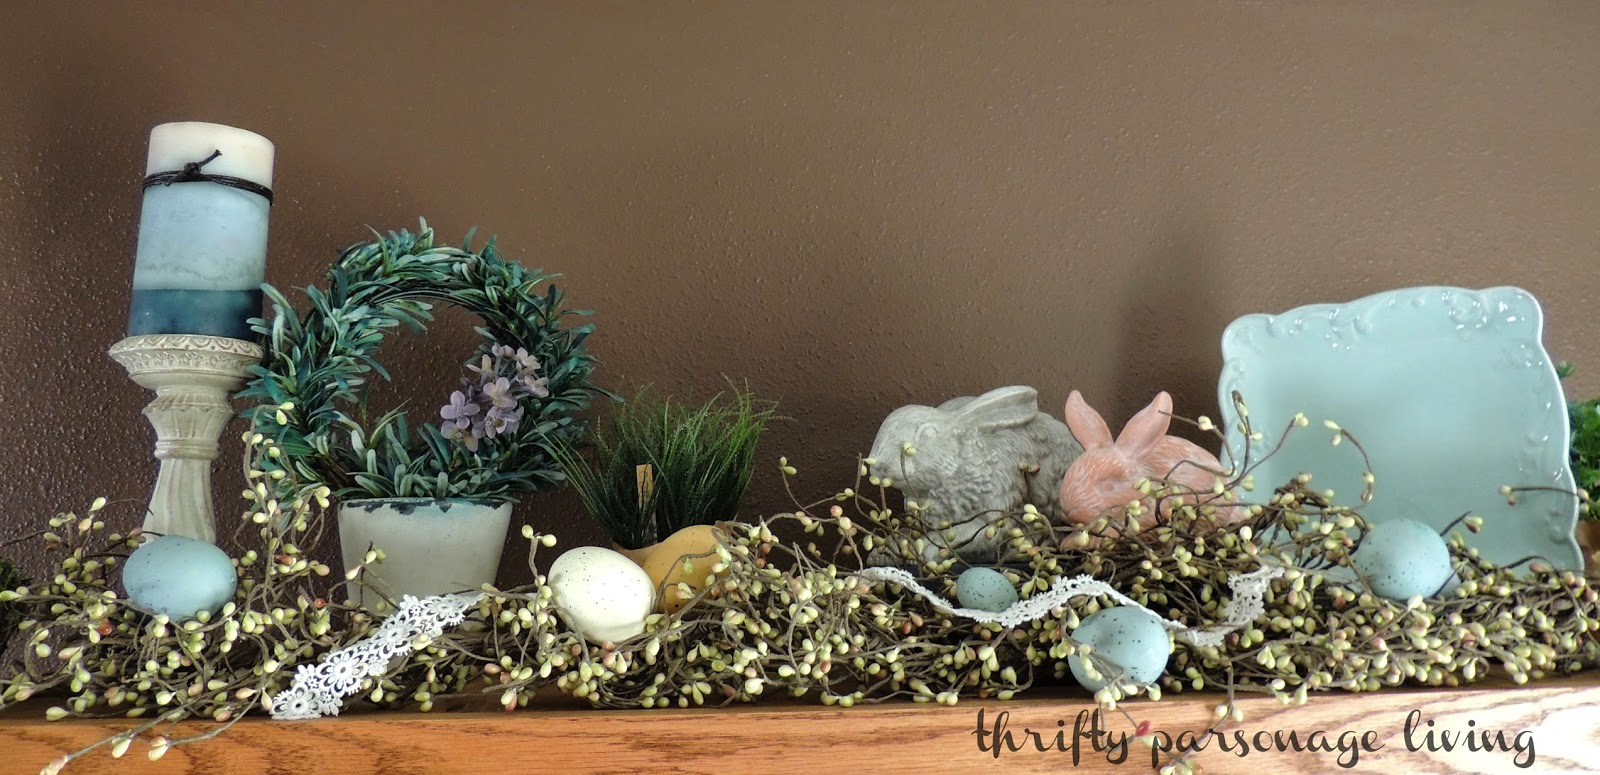
I love spring and the Easter Holiday.  Today I thought I would show you how I decorated our dining room for spring.


I'll begin by showing you what I placed on the top of our Hoosier cabinet.  I used things that I've had in the house from the past few years.  By using these items over you save a lot of money, and arranging it different from year to year gives the items a new look.

Friday, January 30, 2015

DIY TUFTED HEADBOARD

Hi everyone!  Today I am going to be sharing my - DIY Tufted head board.  I must say, I'm happy to be back after over a month of no blog posts.  It's been a little busy around our home.  My husband and I both got sick at Christmas.  I missed all the Christmas parties; and it took me a good three weeks to get back to normal health.  Two weeks ago, I started a new job; and I've been in the process of working more hours with orientation.

For those of you who have reading my blog for some time, you may recall our son and daughter-in-law got married a year and half ago. I shared the DIY wedding rehearsal dinner that we did for their wedding.   As a wedding gift for our children, my husband has made a piece of furniture.  The couple gets to select what they would like.  They usually find a photo of the piece of furniture they like; and my husband builds it for them.  While preparing for the rehearsal dinner, my sister and brother-in-law were talking to my husband asking if he would be interested in a walnut tree that went down in their grove.  Of course, we jumped on that offer.  There was, however, quite a delay when the tree went to the mill. While at the mill, the owner had a fire and had to rebuild his kiln....thus we had to wait for the wood to get milled for almost a year.

Once we had the wood, my husband went to work preparing the wood. He then built the wood part of the bed.  Once he had that completed, we invited our son and daughter-in-law to help us assemble the tufted part of the bed.


We made the tufted headboard using the same technique we used when we made our tufted headboard back in 2010.

Wednesday, December 24, 2014

VINTAGE SLED DECORATED FOR CHRISTMAS

While getting ready for an outdoor 40th wedding anniversary party this summer, my sister ran across an old vintage sled.  It had been sitting outside in the elements behind the garden shed for years.  When her and her daughters found it, they all wanted it to decorate for Christmas.  My sister was not about to give this treasure away, at least not yet.

Fast forward to December ~ I received a phone call from my sister asking for my help in decorating her sled.  Of course, I said YES!  A chance to work on a fun diy project, while spending time with my sister.  

I also had visions for a sled decorated for Christmas.  It was one from my childhood, and the one our children used for many years.  I had it all ready to load onto our moving truck back with our move in 2012.  It was while standing there that our daughter (a children's photographer) spotted it.  I agreed that she could keep it in Washington to use as a photography prop.  My husband said we could enjoy it in her photos; and we've been doing just that.

Here it is with our sweat grand daughter sitting on it for a Christmas card photo shoot.


I know you're wondering about the sled we made over, but I couldn't resist sharing the photo with you.

Here it is ~

Tuesday, December 23, 2014

CHRISTMAS HOME TOUR 2014

Hi everyone!  Christmas is fast approaching; and I realized that if I didn't post my Christmas Home Tour soon, Christmas would be here before you saw it.  So without any more delay -  my 2014 Christmas Home Tour.  Some of the items may look familiar to you as many of the things I used this year are the same as last year.


Come on in!  We'll start in the living room.

Thursday, December 18, 2014

BALLARD DESIGNS TINSEL BRANCH KNOCKOFF

Christmas is fast approaching and with that comes decorating your home for the holiday.  I will be sharing my Christmas home tour with you very soon, but today I wanted to share with you a little project I just finished for the kitchen.  It's a Ballard Designs tinsel branch knockoff.

 Making my home sparkle at Christmas is always fun using glittery ornaments and tinsel. I also love adding natural items here and there.  When I saw the beautiful glittery tinsel branches that Susanne Kasler created at Ballard Designs, I knew I wanted to make one of these pretty branches for my home.  You can purchase the champagne colored branches at Ballard Designs for $19,  but I knew I could make my own for less.


While shopping at Mernard's with my husband recently, I found the tinsel that would work for this project for a mere $1.29.

Friday, December 12, 2014

POTTERY BARN JINGLE PILLOW KNOCK OFF

I started a few projects back in November and I'm happy to say I can finally show you one of them completed.  The project completed is my Jingle Lumbar Pillow.  I  loved this pillow when I first saw it some time ago in the Pottery Barn catalog, however this pillow comes with a price tag of $39.50.  That price is just a bit much for me, and I knew I could make one for a lot less.

Here's my version....


You can view the inspiration for this Pottery Barn pillow here.

Monday, December 8, 2014

DIY SNOWBALL VIGNETTE

I started working on a new diy project for our Christmas decor back in November. It was interrupted when we had a family member in the hospital for a week.  We then went right into thanksgiving, so it's taken a little bit to get back to the project.

I'm amazed how a quick, off the cuff, spur of the moment project can be the number one hit item on this blog.  Can you guess what it is?  It's my DIY Epsom Salt Candle and Ornaments.   It receives more page views than any other diy project I've shared with you.  It's been featured at Redbook, Epsom Salt Council, along with a few other blogs.

Using the same technique I used when making my Epsom Salt Ornaments/Snow Balls, I created another SNOWBALL project.  Today, I finally get to show it to you .


I basically did the same technique for these snowballs as the ones I made previously.

LinkWithin

Related Posts with Thumbnails