I'm amazed how a quick, off the cuff, spur of the moment project can be the number one hit item on this blog. Can you guess what it is? It's my DIY Epsom Salt Candle and Ornaments. It receives more page views than any other diy project I've shared with you. It's been featured at Redbook, Epsom Salt Council, along with a few other blogs.
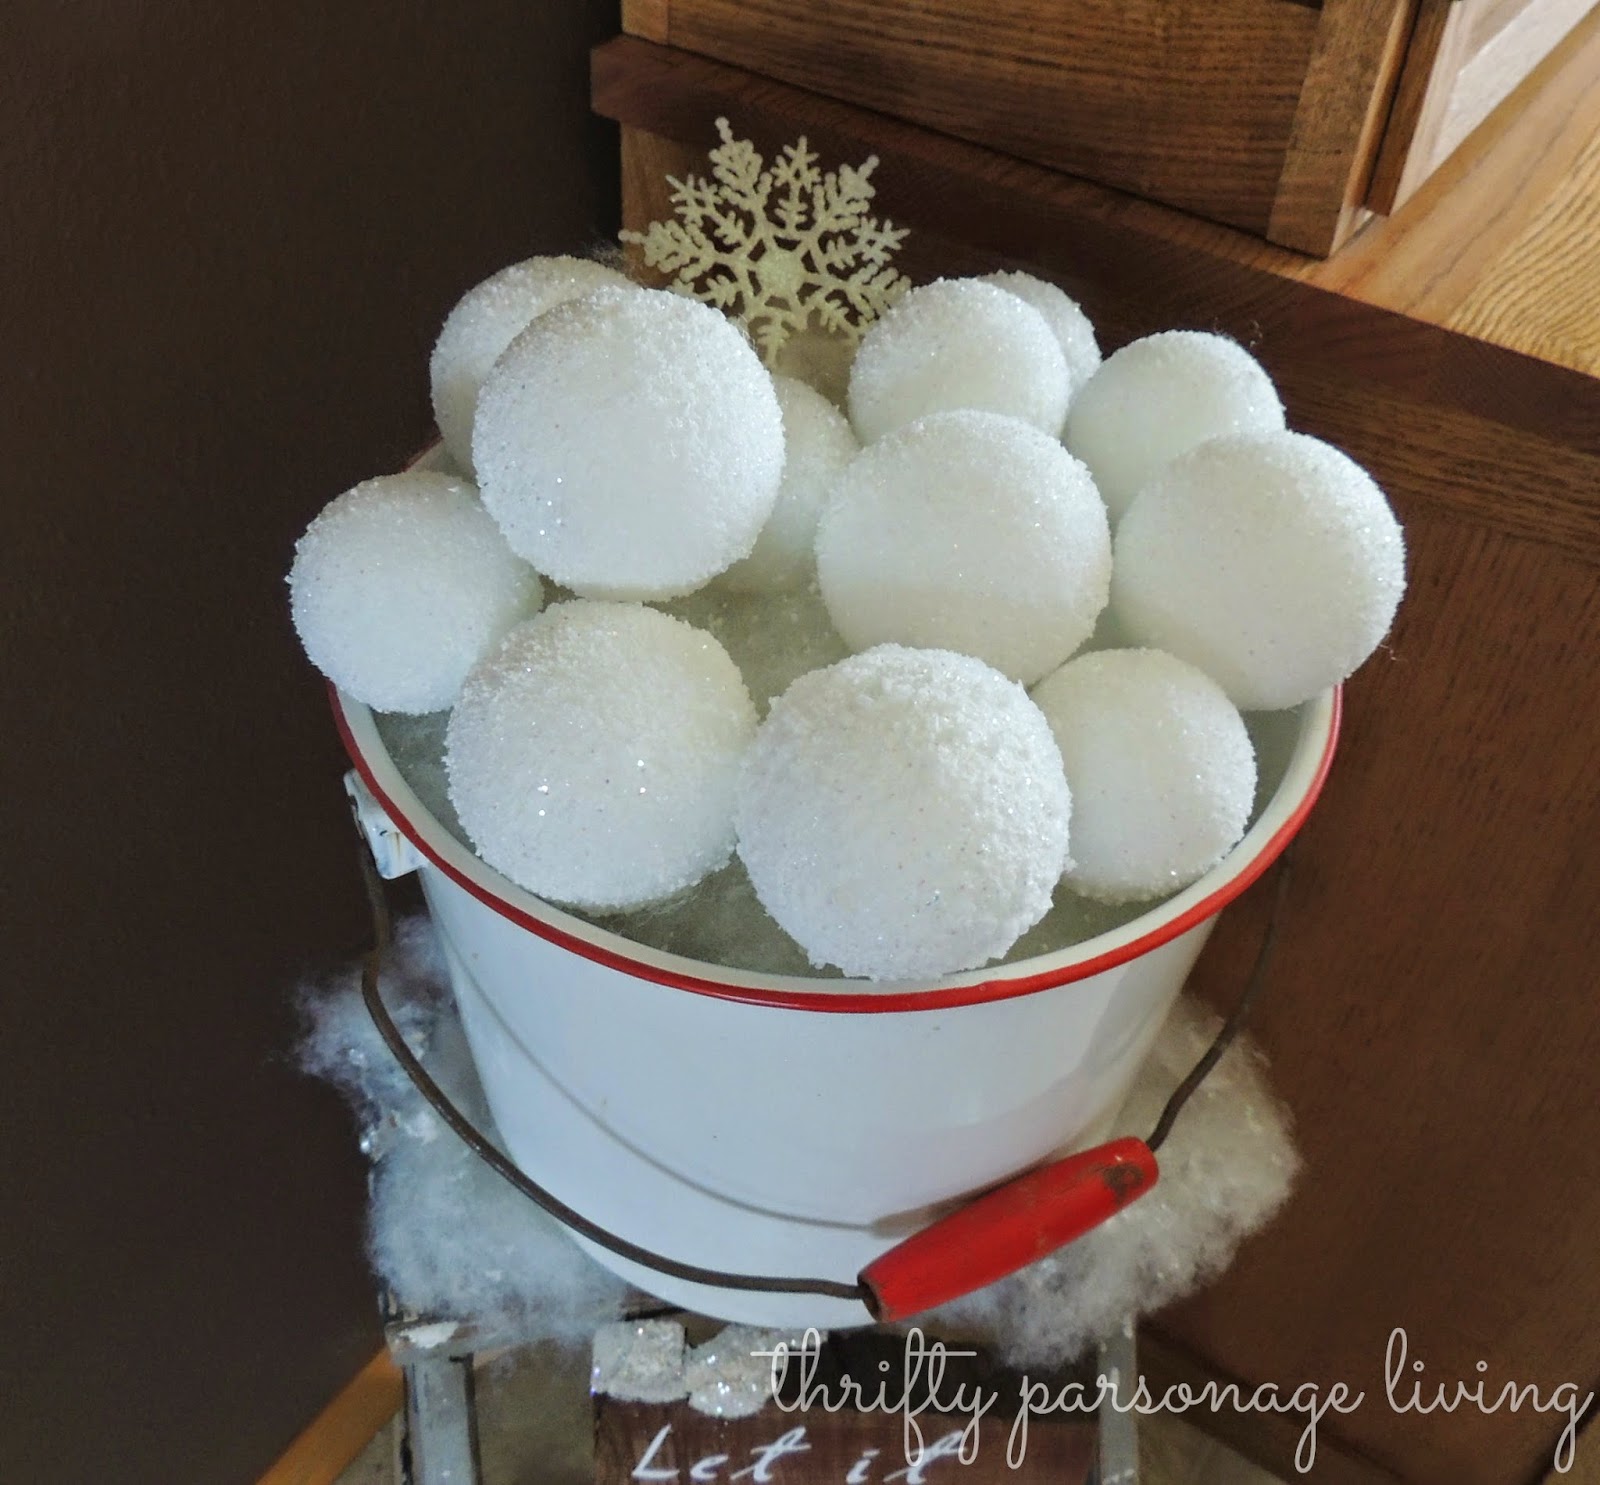
Using the same technique I used when making my Epsom Salt Ornaments/Snow Balls, I created another SNOWBALL project. Today, I finally get to show it to you .
I basically did the same technique for these snowballs as the ones I made previously.
The detailed instructions for the snowballs can be found here.
I started out gathering my supplies:
Epsom Salt
Mod Podge
Styrofoam Balls
Clear Glitter
Shish Kabob Sticks
Brush
The first thing I did was to place the ball on a shish kabob stick. Then using a stiff brush, I applied the modge podge to the ball. I tried using a foam brush first, but it didn't spread the modge podge evenly on the ball. While the modge podge was still wet, I applied a mixture of clear glitter and Epsom salt. When I made these balls the first time, I did not add glitter. These, however, I wanted to sparkle a little more like real snow sparkles in the sun.
I then placed each of the sticks with balls on a card board box. I left them on the box over night to completely dry.
The next day came the fun part of putting the project together.
I started out with my small vintage ladder that I've used as a side table in the past. I also used an old white enamel bucket from my mom for this vignette. (This bucket holds some dear memories from my childhood. I remember this bucket sitting in my grandparents kitchen. They had no running water, and this is where we would go to get a drink of water.) I placed pillow batting in the bottom of the bucket (looks like snow), and then added my snow balls on top.
I also placed pillow batting on a few of the ladder steps and at the base of the ladder. I added a little glitter and faux snow as well. Placing an old pair of mittens seemed to fit in perfect to the theme of this vignette along with a few pine cones.
On the middle step I added a let it snow sign (Another of my diy projects made from a piece of scrap lumber).
To add to the snow theme, I hung a pair of old skates on the cabinet next to the ladder. I added a few pine sprigs along with some berries. To make the skates look a little more festive, I sprayed glue adhesive on them and then added clear glitter.
Thanks for stopping by. Have a great week!
****Joy***
I'm linking this to The Girl Creative link party
That (Holiday) Diy Party


No comments:
Post a Comment