

Rita from Harbour Breeze Home recently asked me a question regarding this makeover. She is planning a bathroom makeover also. As you can see in the photo below, her bathroom is same floor plan as ours. Even the retro light fixture is the same fixture we had before our makeover.

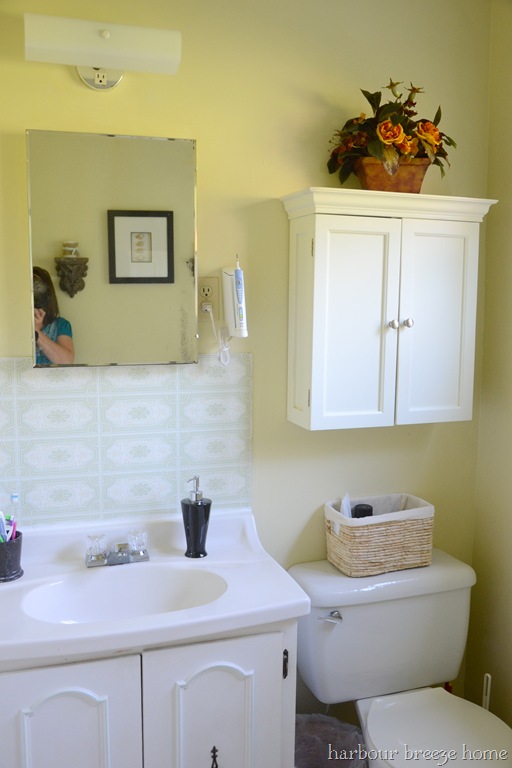
While looking back at the post I realized I hadn't shown you somethings I did in this room.

See the area directly above the shower stall. It used to be a solid wall of beige plastic with a seam about 18 inches from the ceiling. I came up with a thrifty fast solution to get rid of the wall of beige plastic.
PAINT
First I scrubbed the wall very well. I then ruffed the surface a bit using sandpaper. The next thing to do was add a coat of primer. After the primer was completely dry, I just painted it with latex paint. My husband then added crown molding that he made using salvaged lumber.
We use the shower in this bathroom and I wondered how it would hold up. It's been on the wall for four years and still looks like the day I painted it.


Have a great day!

No comments:
Post a Comment