
Hi everyone, you might be wondering why you haven't heard from me for a little while. Well, I had unexpected oral surgery and haven't been up to much, other than trying to recover.
I thought I would take this opportunity to have a guest post from Mel and Nader at Duo Ventures. If you have not read their blog you've been missing out! I love pretty much every makeover and organizing idea that they have shared on their blog. They are a young husband/wife team, who blog about design, DIY projects and organization. You can head over and read more if you enjoy this post from them at Duo Ventures.
In the post below they'll tell you how they turned their dining room into an office.... enjoy!
All the images and content below are courtesy from the Duo Ventures.
Turning a Dining Room into an Office: Part 2

OK, so let's start @ the beginning...
Here's what it looked like when we moved in:

First we painted the walls with Behr -Creek Bend & swapped out the light fixture for a more contemporary brushed nickel fixture that we found on clearance @ Lowe's (yay for floor samples!). Next we hung some window panels from Target (Threshold Basketweave in Gray). We also ordered a 7'6" x 9'6" rug from Overstock while it was on sale (South Hampton Southwest in Grey):

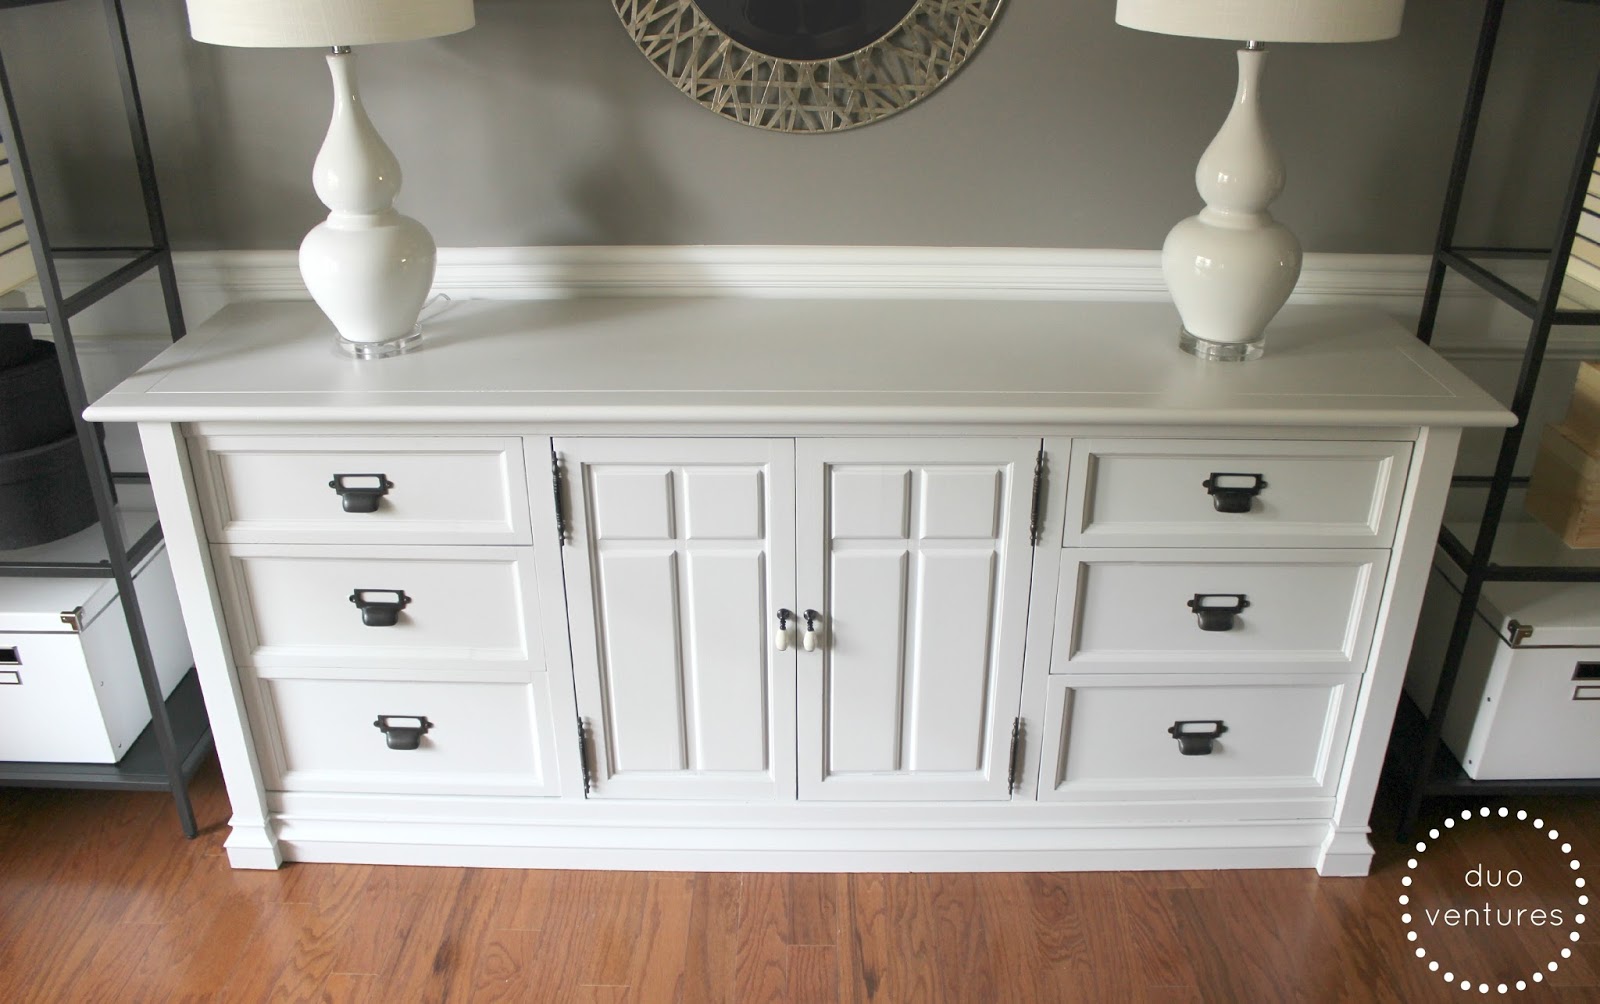
Next, we began to layer our furniture back into the room. We added our existing desk from Pottery Barn & a pair of chairs from Home Goods. At this point, Mel had also finished painting our thrift store dresser (we were still waiting on the hardware to arrive), & we centered it on the back wall:

After browsing through some Houzz & Pinterest inspiration, we decided that we wanted shelving units on either side of the dresser. IKEA offered an affordable option that was available in two different sizes (Vittsjo). The wider version seemed like it was going to be a tight squeeze, so we taped off the dimensions first. Luckily, they were going to fit perfectly:

Here's the office after we assembled the shelving units & attached the drawer pulls to the dresser:


We love our thrift store makeover (you can see a before here)! We will most definitely be writing a more detailed post about the dresser makeover sometime in the near future:
Then came the fun part - layering in all the decorative items. We visited several different stores & picked up a bunch of goodies from Target, Home Goods, IKEA, Joann's, & several thrift stores. Whatever we didn't use we would just return.
Mel organized all of the new finds & some items we already had into groups:

We wanted to try & mix metals in this room - which is crazy seeing as we never thought we'd like anything brass or gold. Ever. But alas, Pinterest had some really cool looking rooms that were styled with brass accents...& we liked it! Maybe our aversion to gold was from growing up in the 90's, when that ugly cheapo brass was everywhere?
After about 5 million different arrangements, this is what we came up with (for now anyways):


Of course, we couldn't do a room without some DIY art -
Mel spray painted some coral we found on our vacation & framed it:


We still need to put photos in the frames & start working on a little DIY project with those inexpensive wooden boxes we picked up from the craft store:

Love this trunk from Home Goods:

More gold coral - surprise surprise:


One thing we need to finish is the styling of the desktop.
It's a work in progress, but here it is for now:


We found this tray in the kitchen section @ Home Goods & thought it would be
perfect to hold those tiny office supplies like push pins & paper clips:

Before & After:


A successful dining-room-turned-office!


All in all, we are very happy with our new home office!
You know what comes next right? Organizing the office supplies of course.
We will also be posting about some individual projects that we worked on for this room as well...so stay tuned!
Hope you enjoyed!
Mel & Nader
Thanks for the guest post Mel and Nader!
Have a great day!
Joy
Absolutely fantastic! Love the tips and seeing the process of how a room evolves! you did a fabulous job! Good thing you added brass, this warmed up the space a lot I think, otherwise, it would look a bit 'cold' without any warm colors. You have the most awesome rubber band container ever! Love it! Great job!
ReplyDelete